Needle felting isn’t difficult. You are recommended to start with a few small exercises to get a grip on the essentials and the basic skills. You’ll only improve from there. Needle felting is as creative as it’s mechanical. You need to make mistakes and not be afraid of common pitfalls usually involved in the process. These are parts of learning.
DIY needle felting can be perfected in a few simple steps.
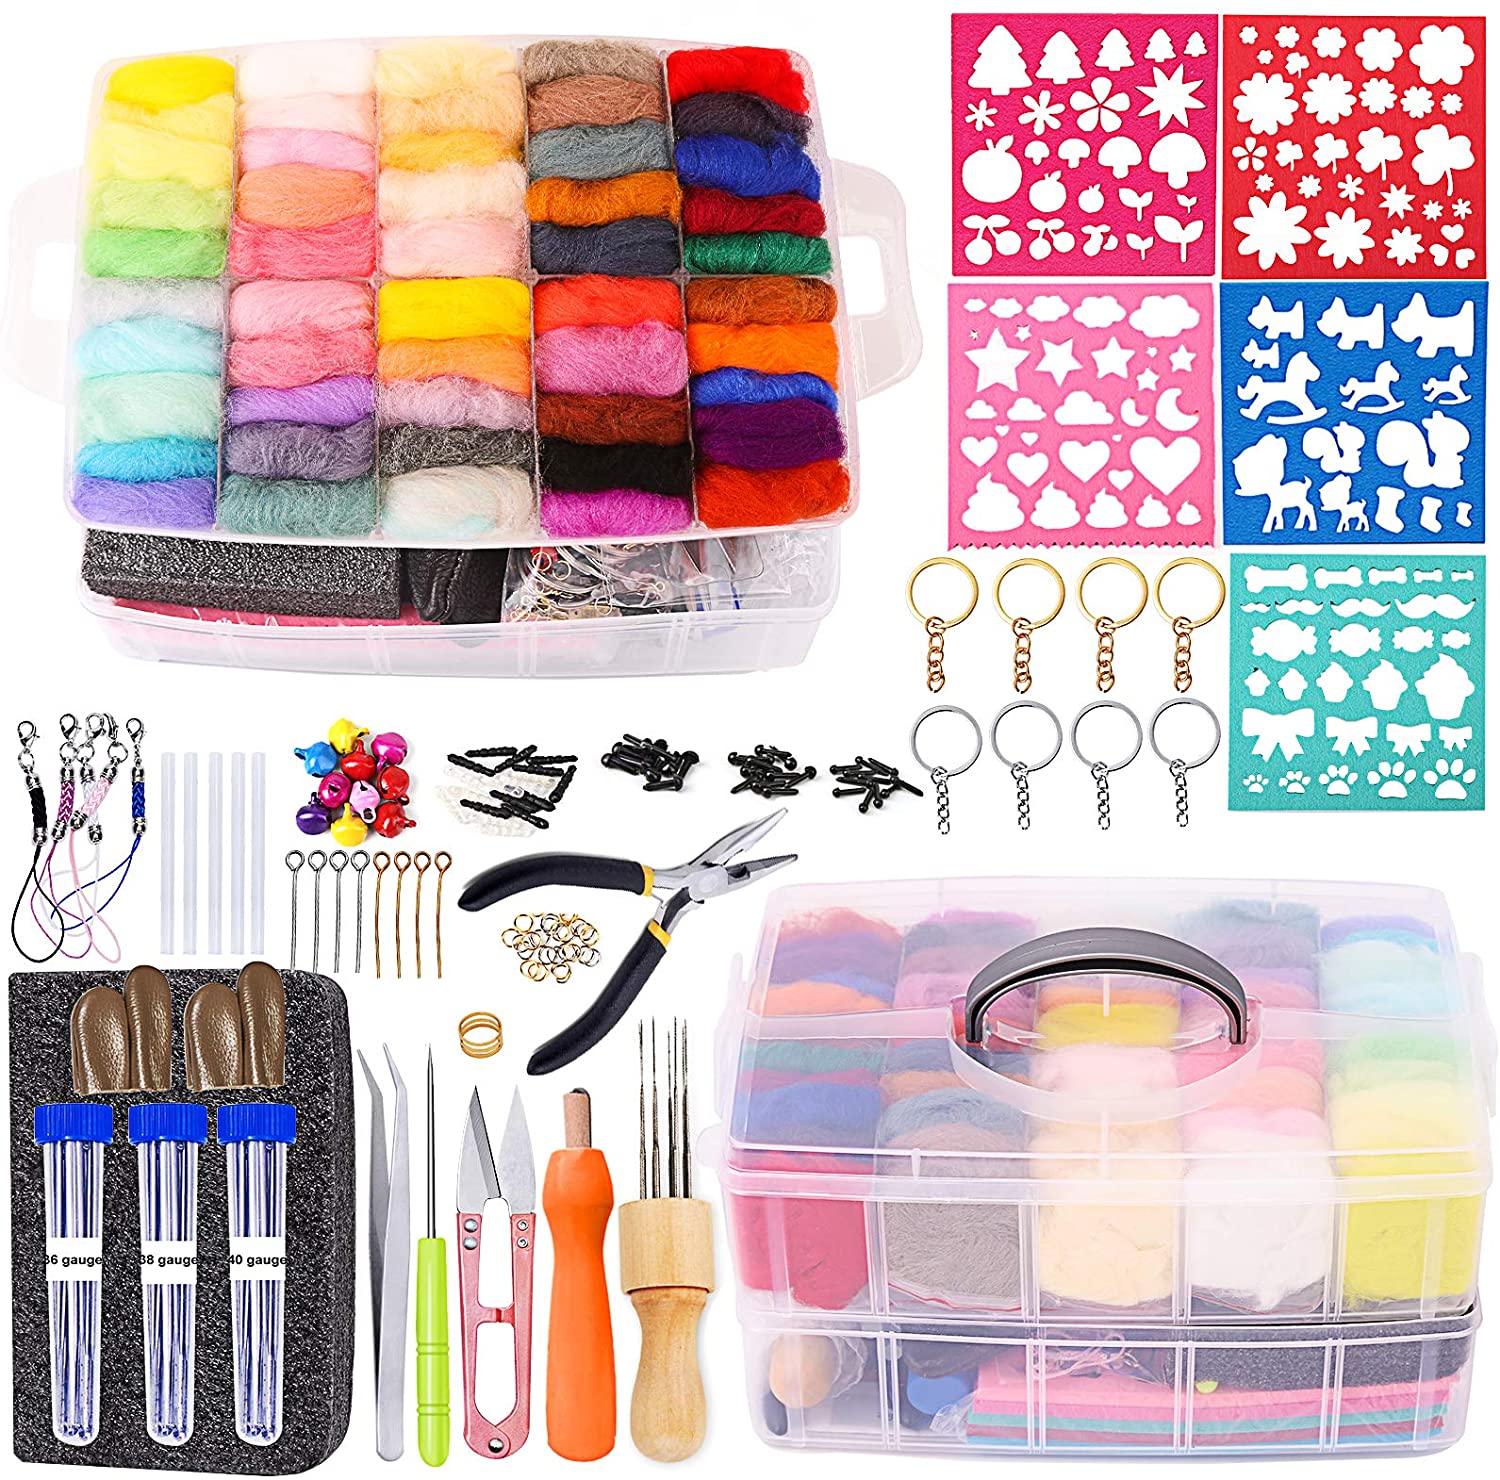
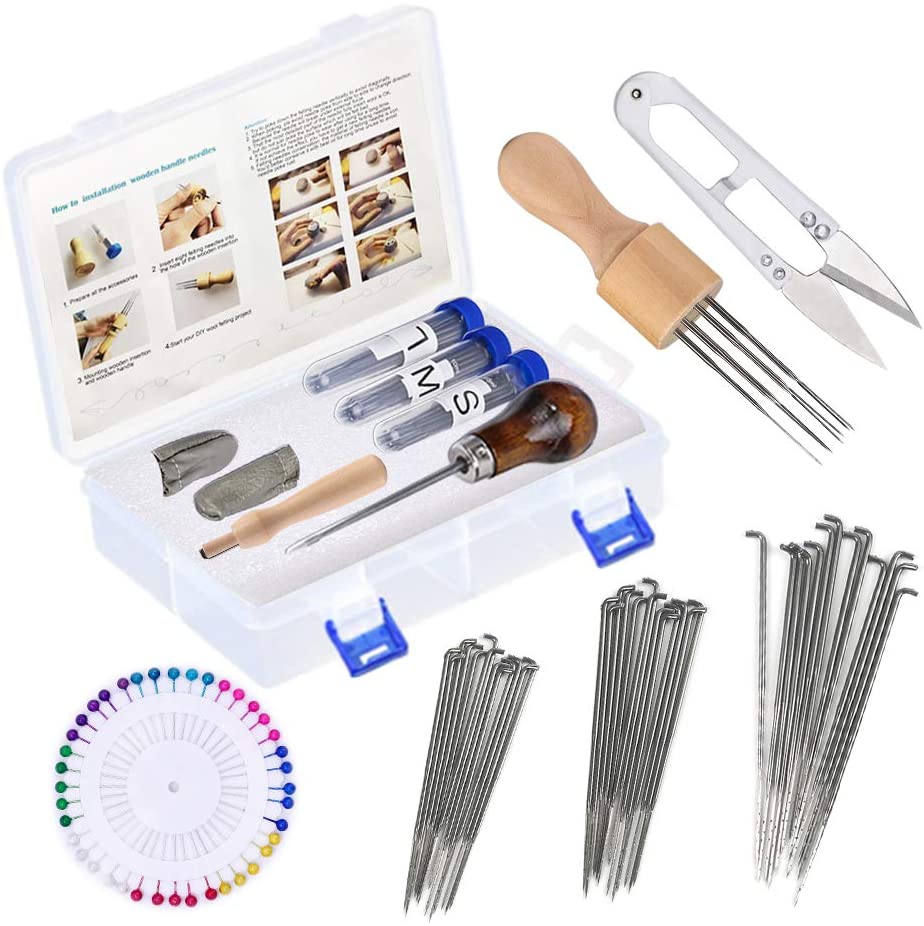
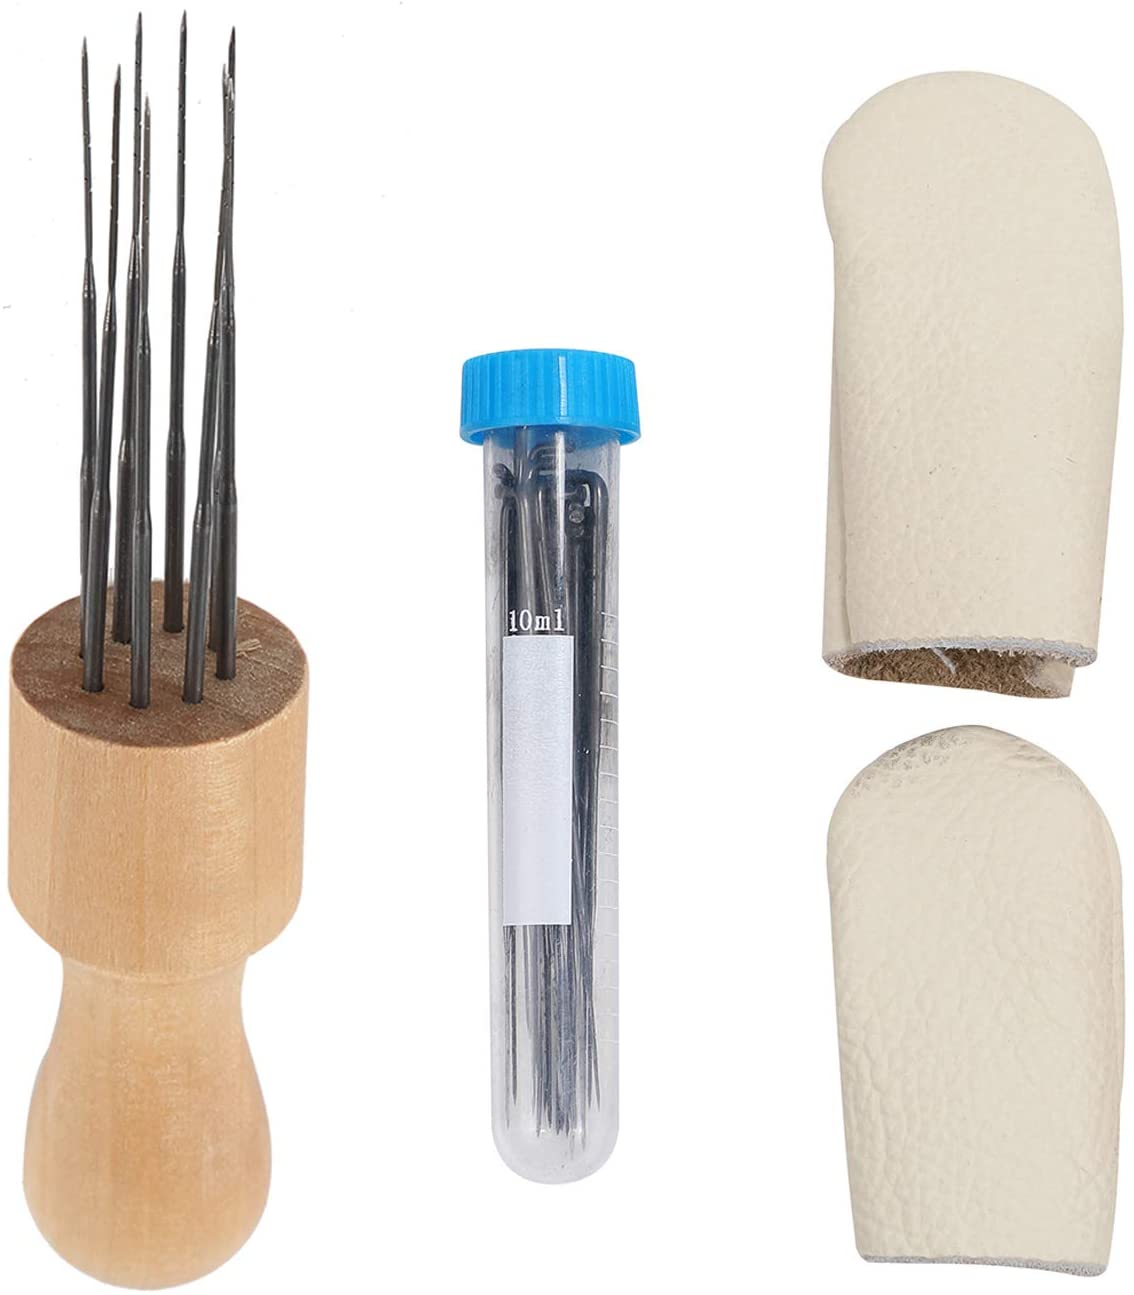
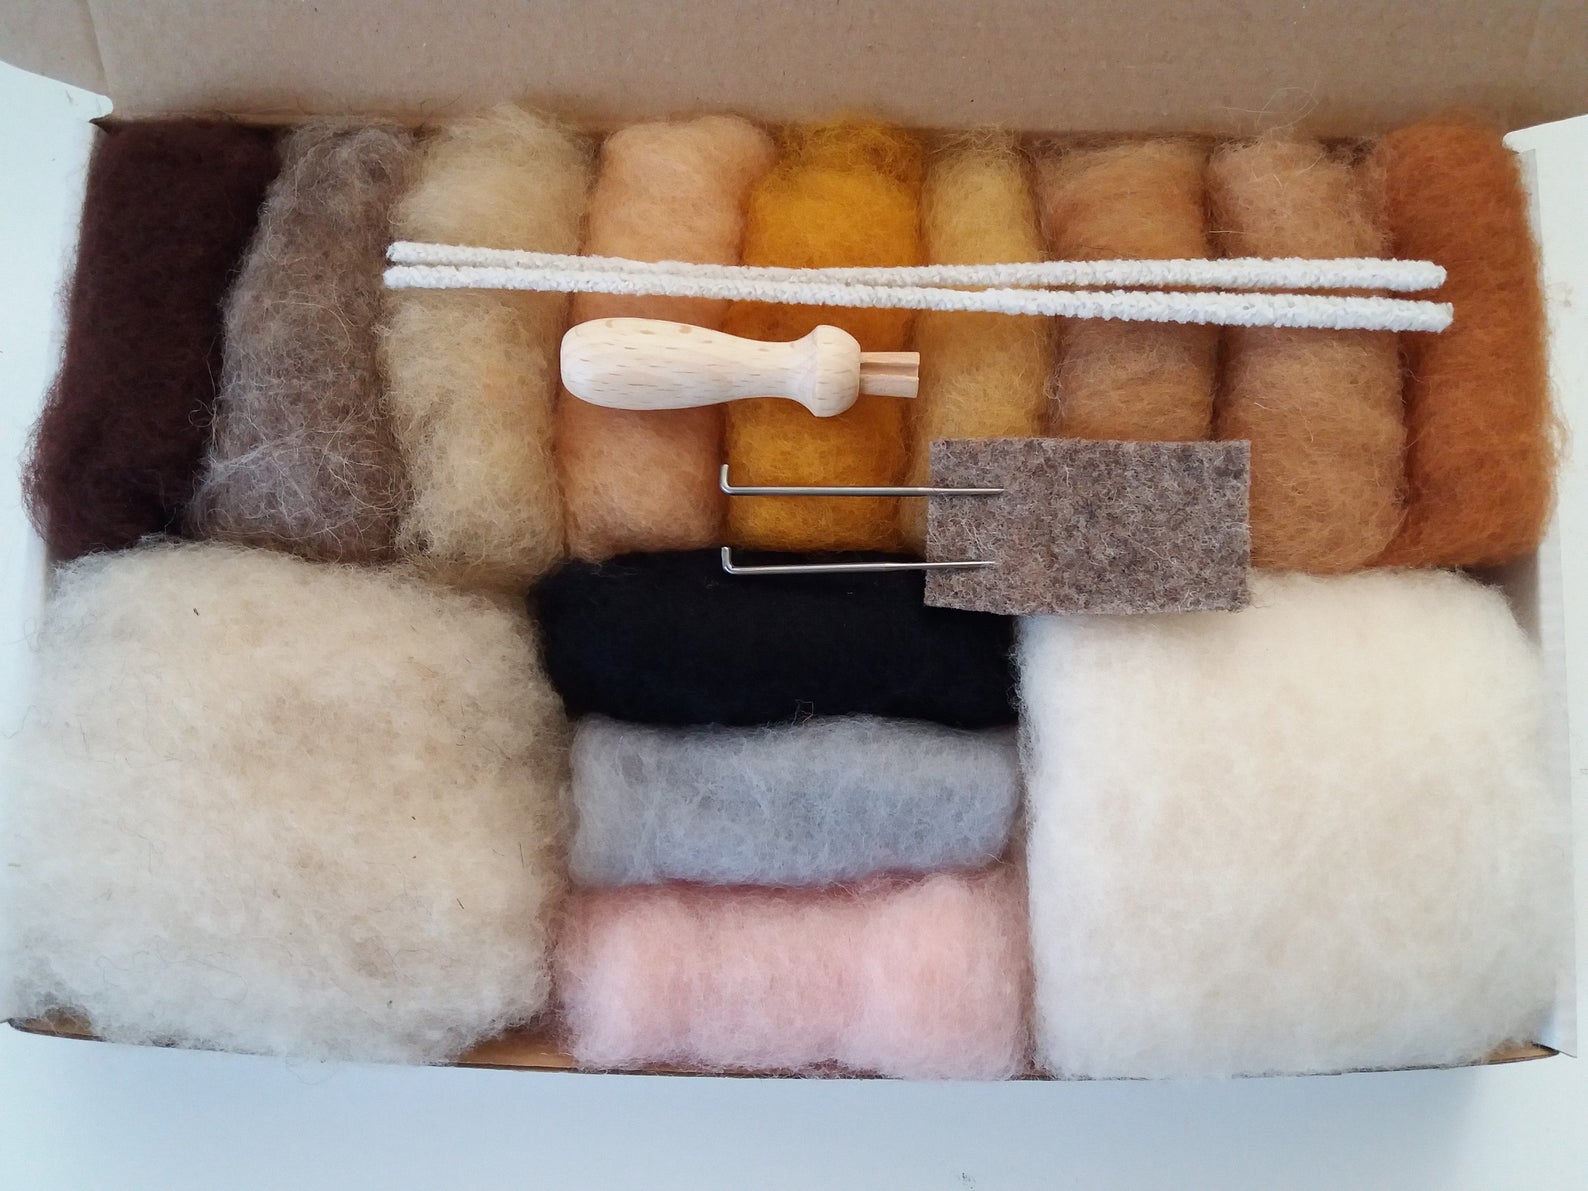
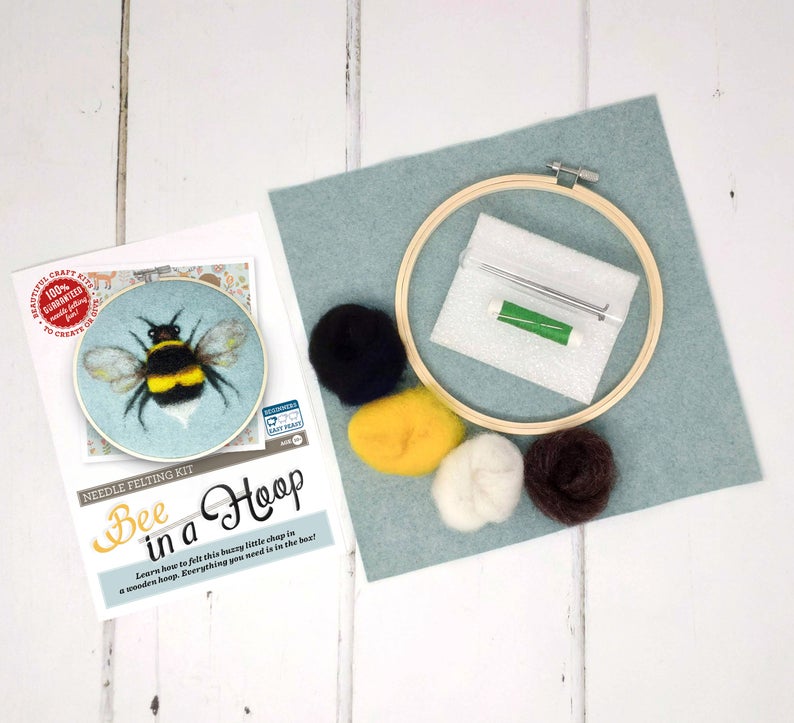
The accessories
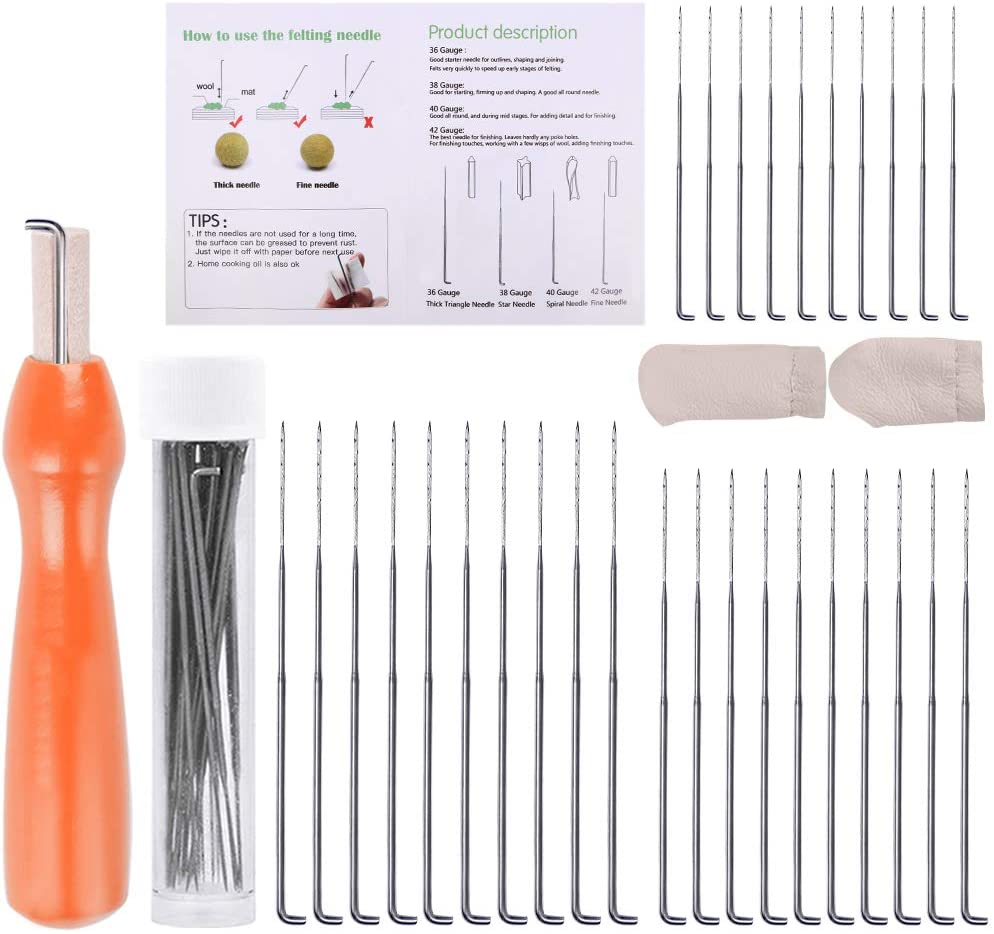
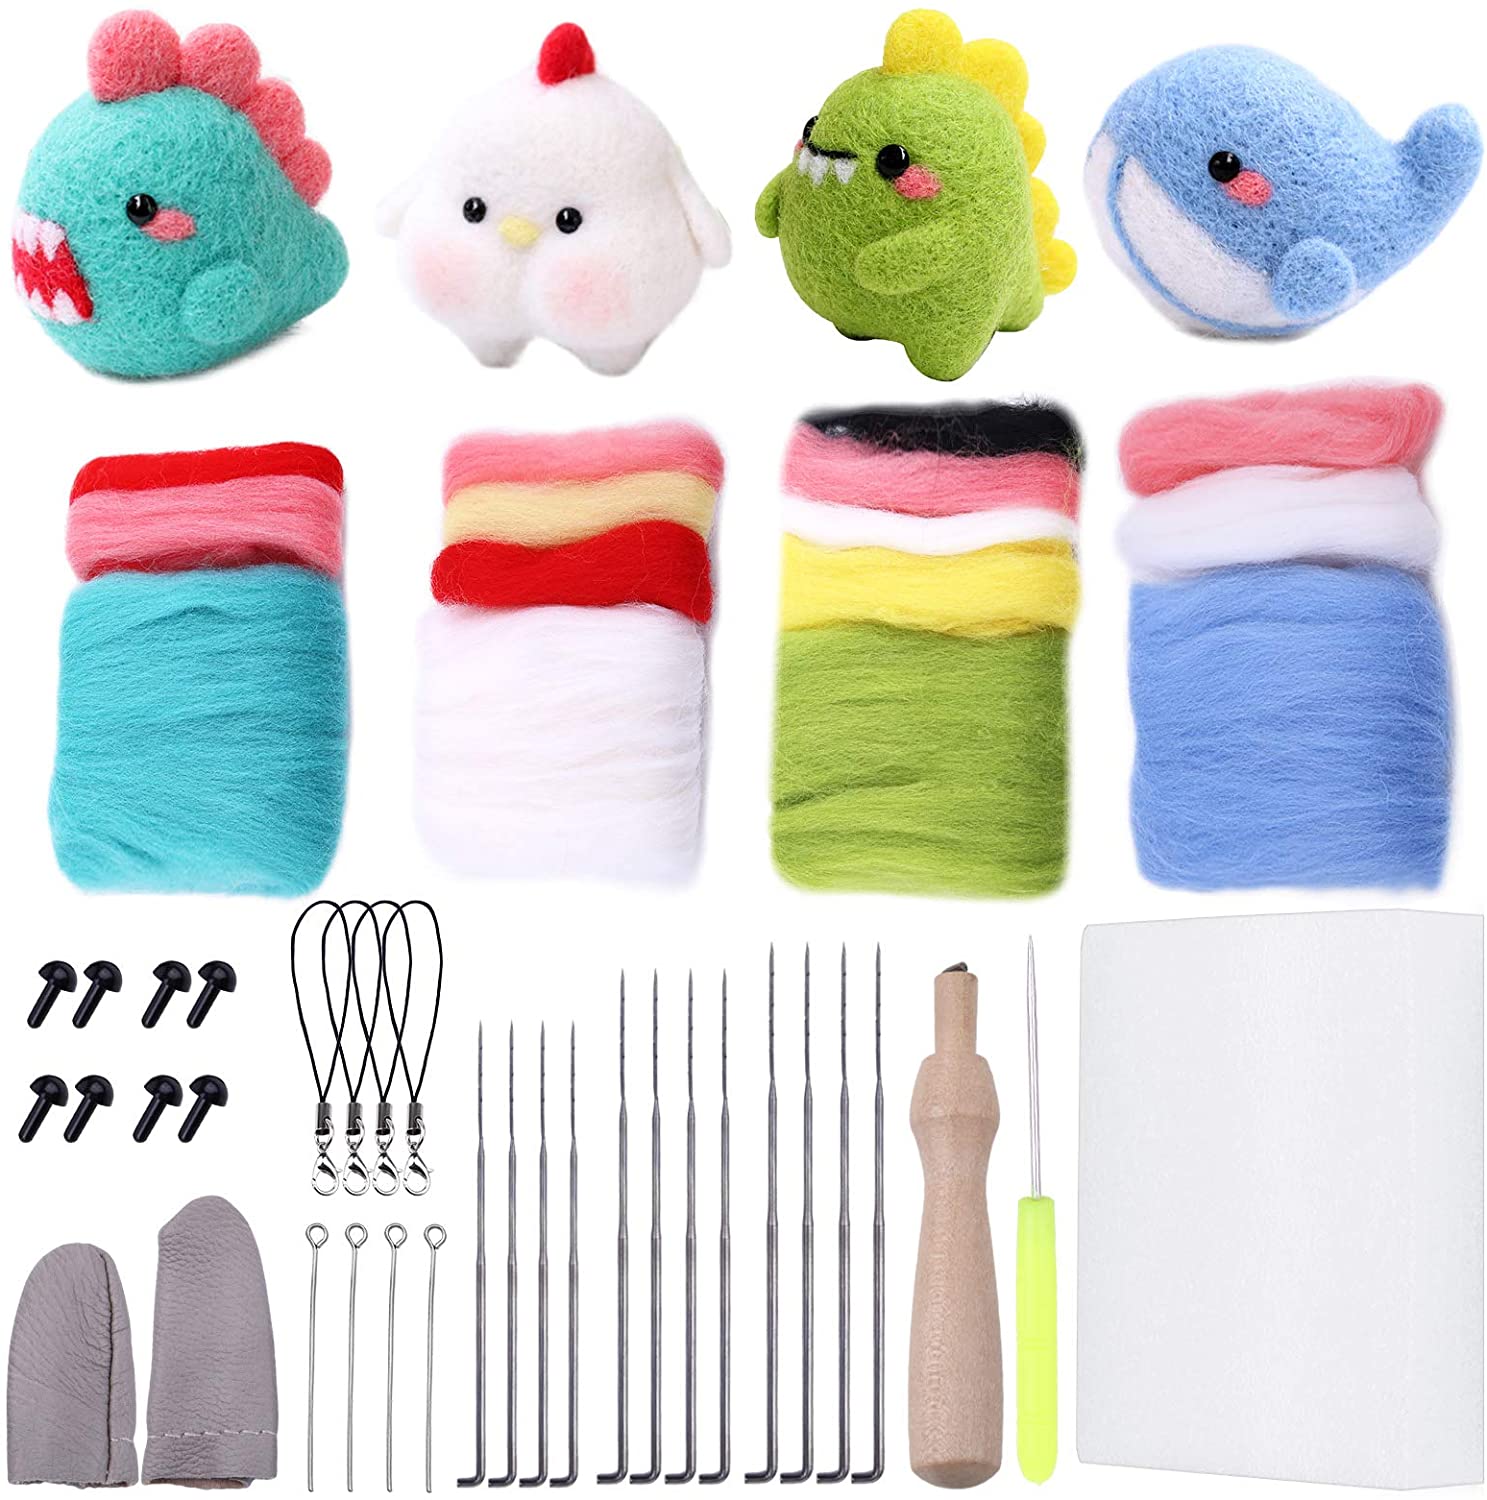
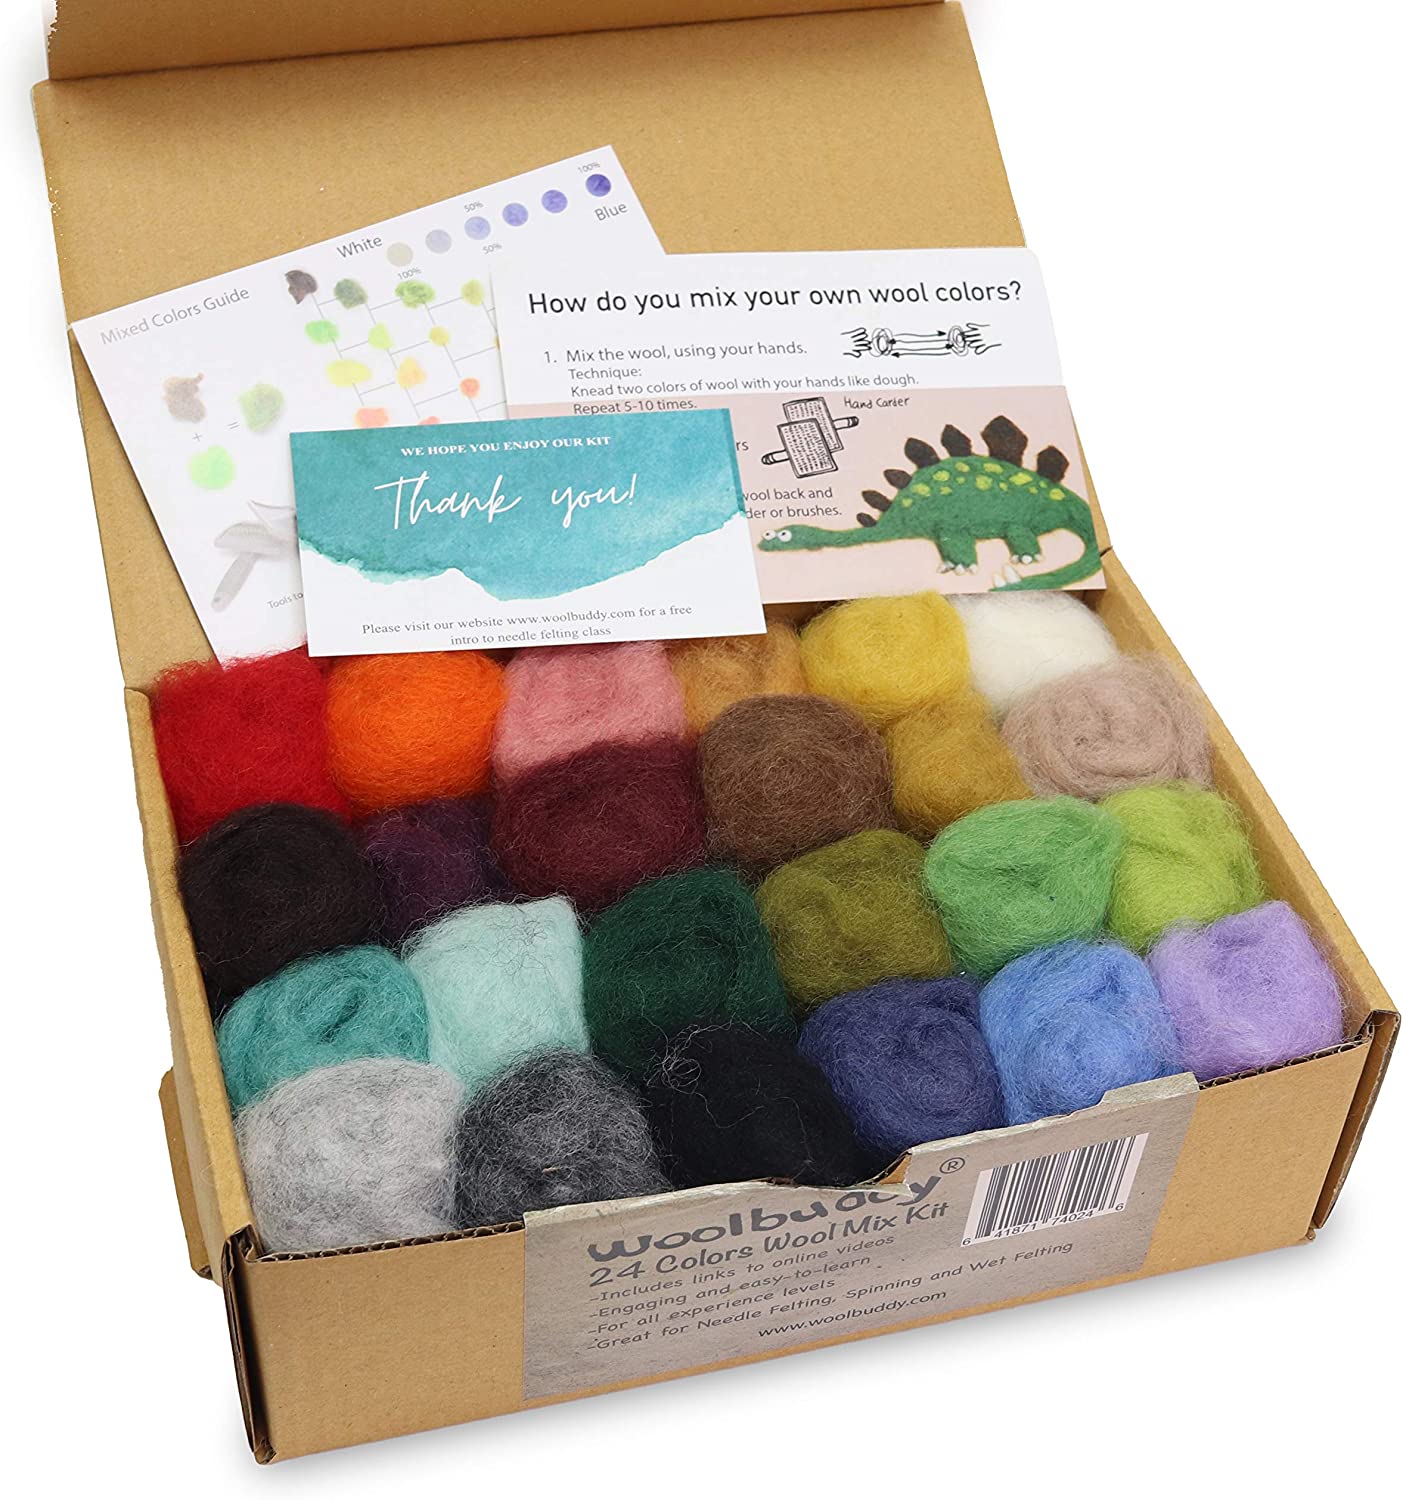
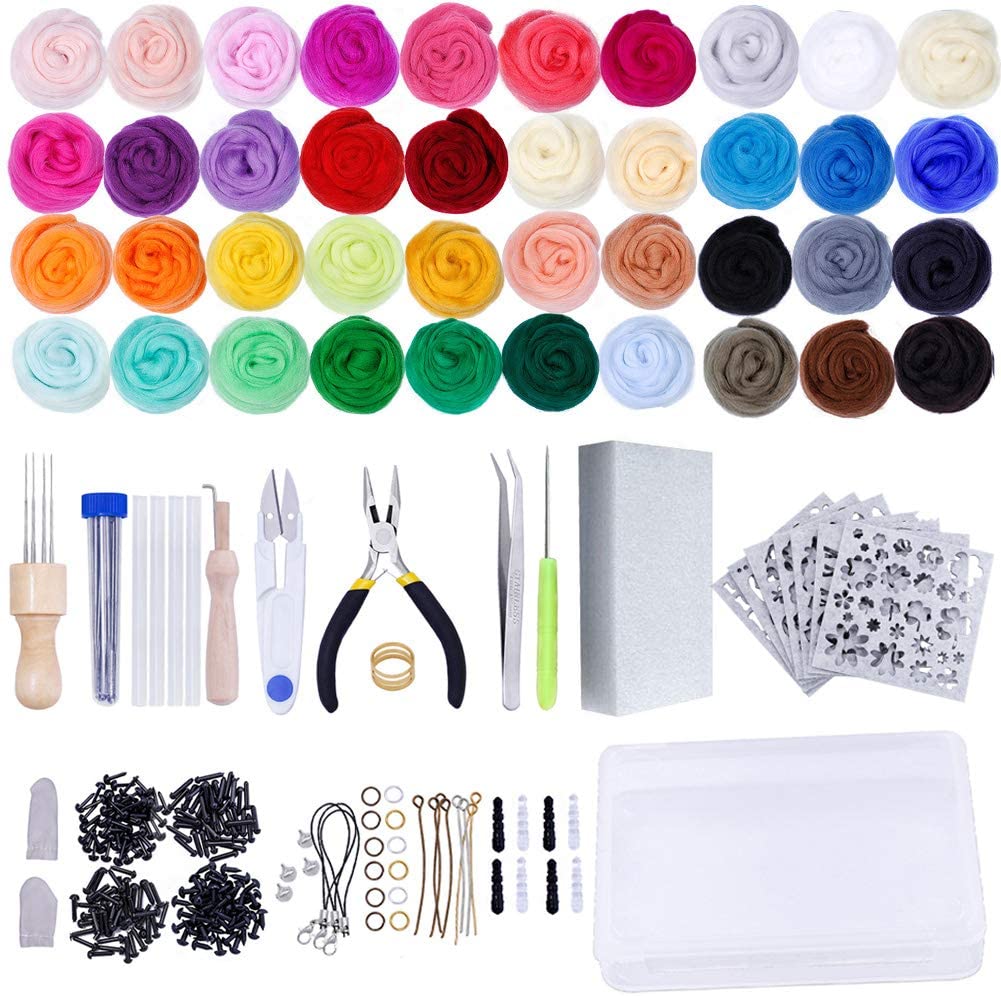
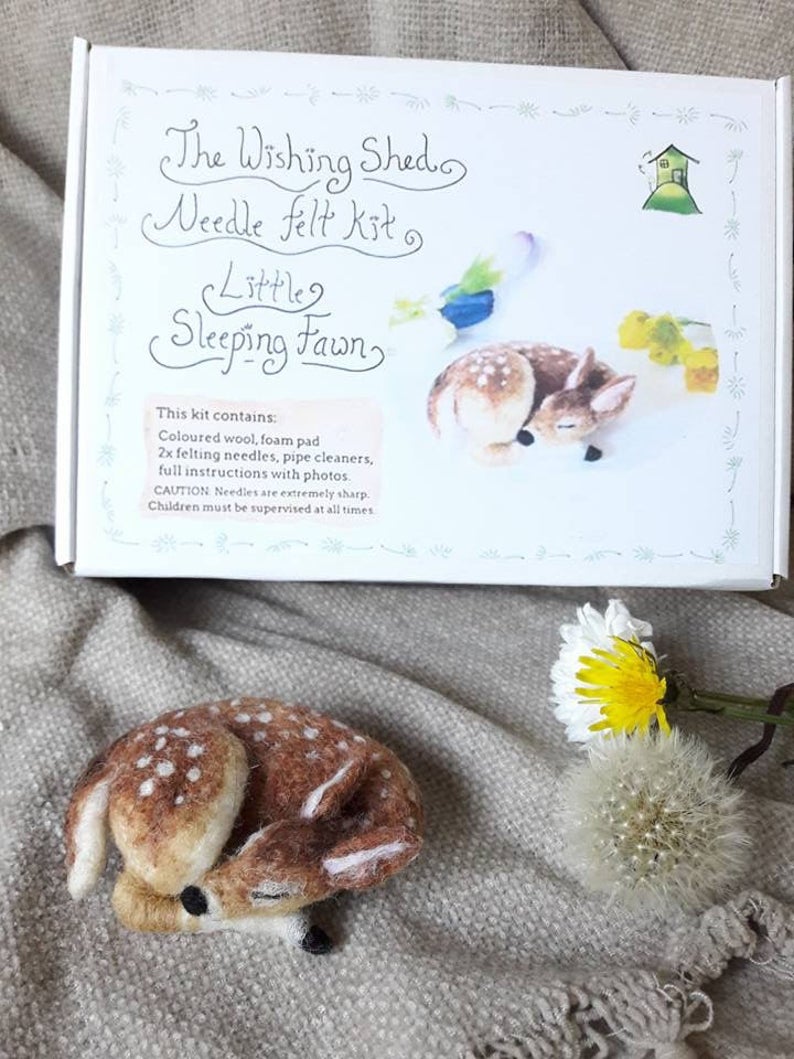
You don’t need a whole kit for this. A couple of felting needles, wool fiber (duh), and a foam cushion are all you need to start your journey.
Purchase only high-quality stuff because it’s likely that you will grow frustrated when your wool doesn’t take up the shape you expect it to. Cheaper accessories will make the journey tougher and cause you to give up sooner. Also, cheaper felting needles are more prone to breaking.
So, how do you felt wool?
Needle felting is an art. It depends equally on creativity and practice. Here’s how you start needle felting.
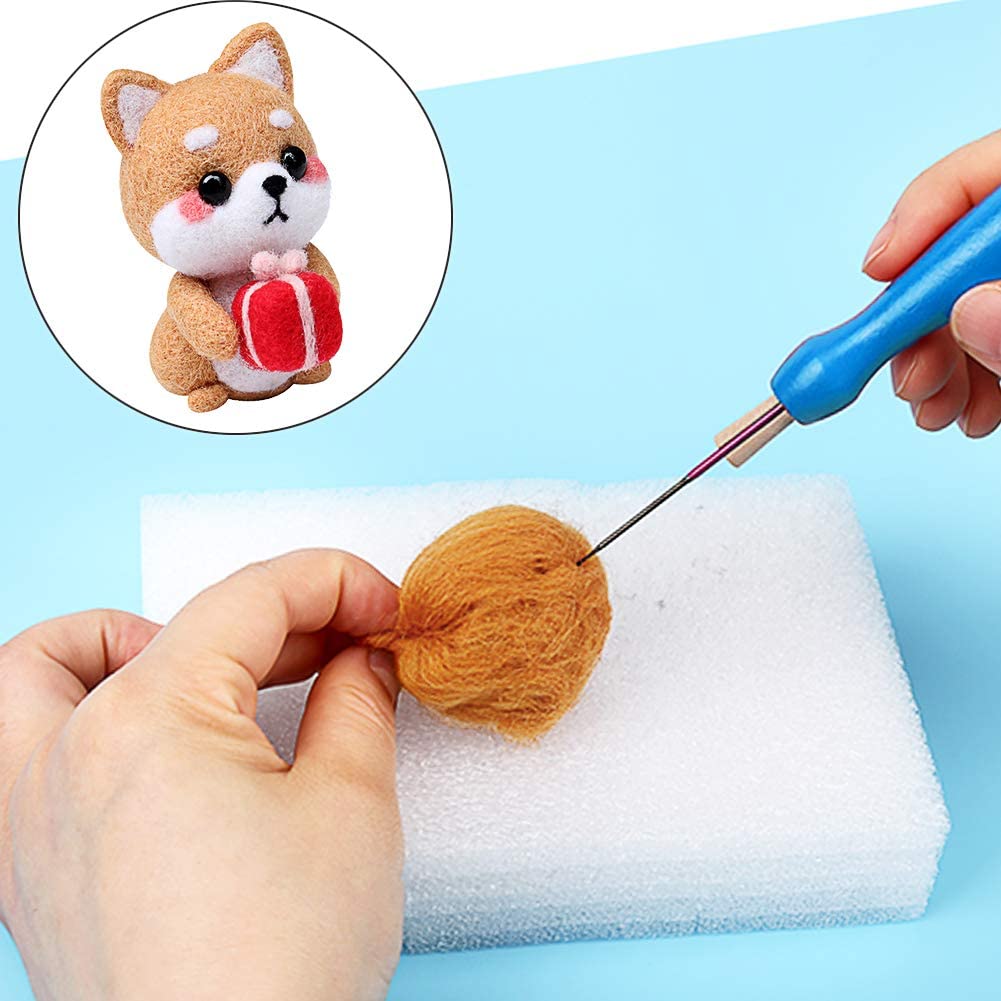
- Tear up a piece of wool. This is the preparation stage. Always tear a smaller chunk than you want or deem necessary.
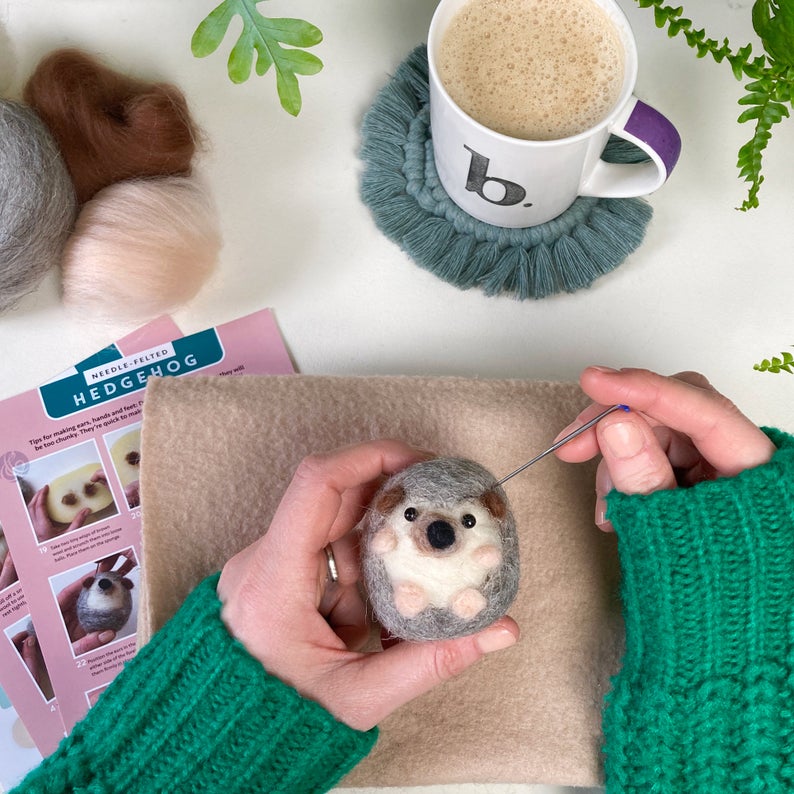
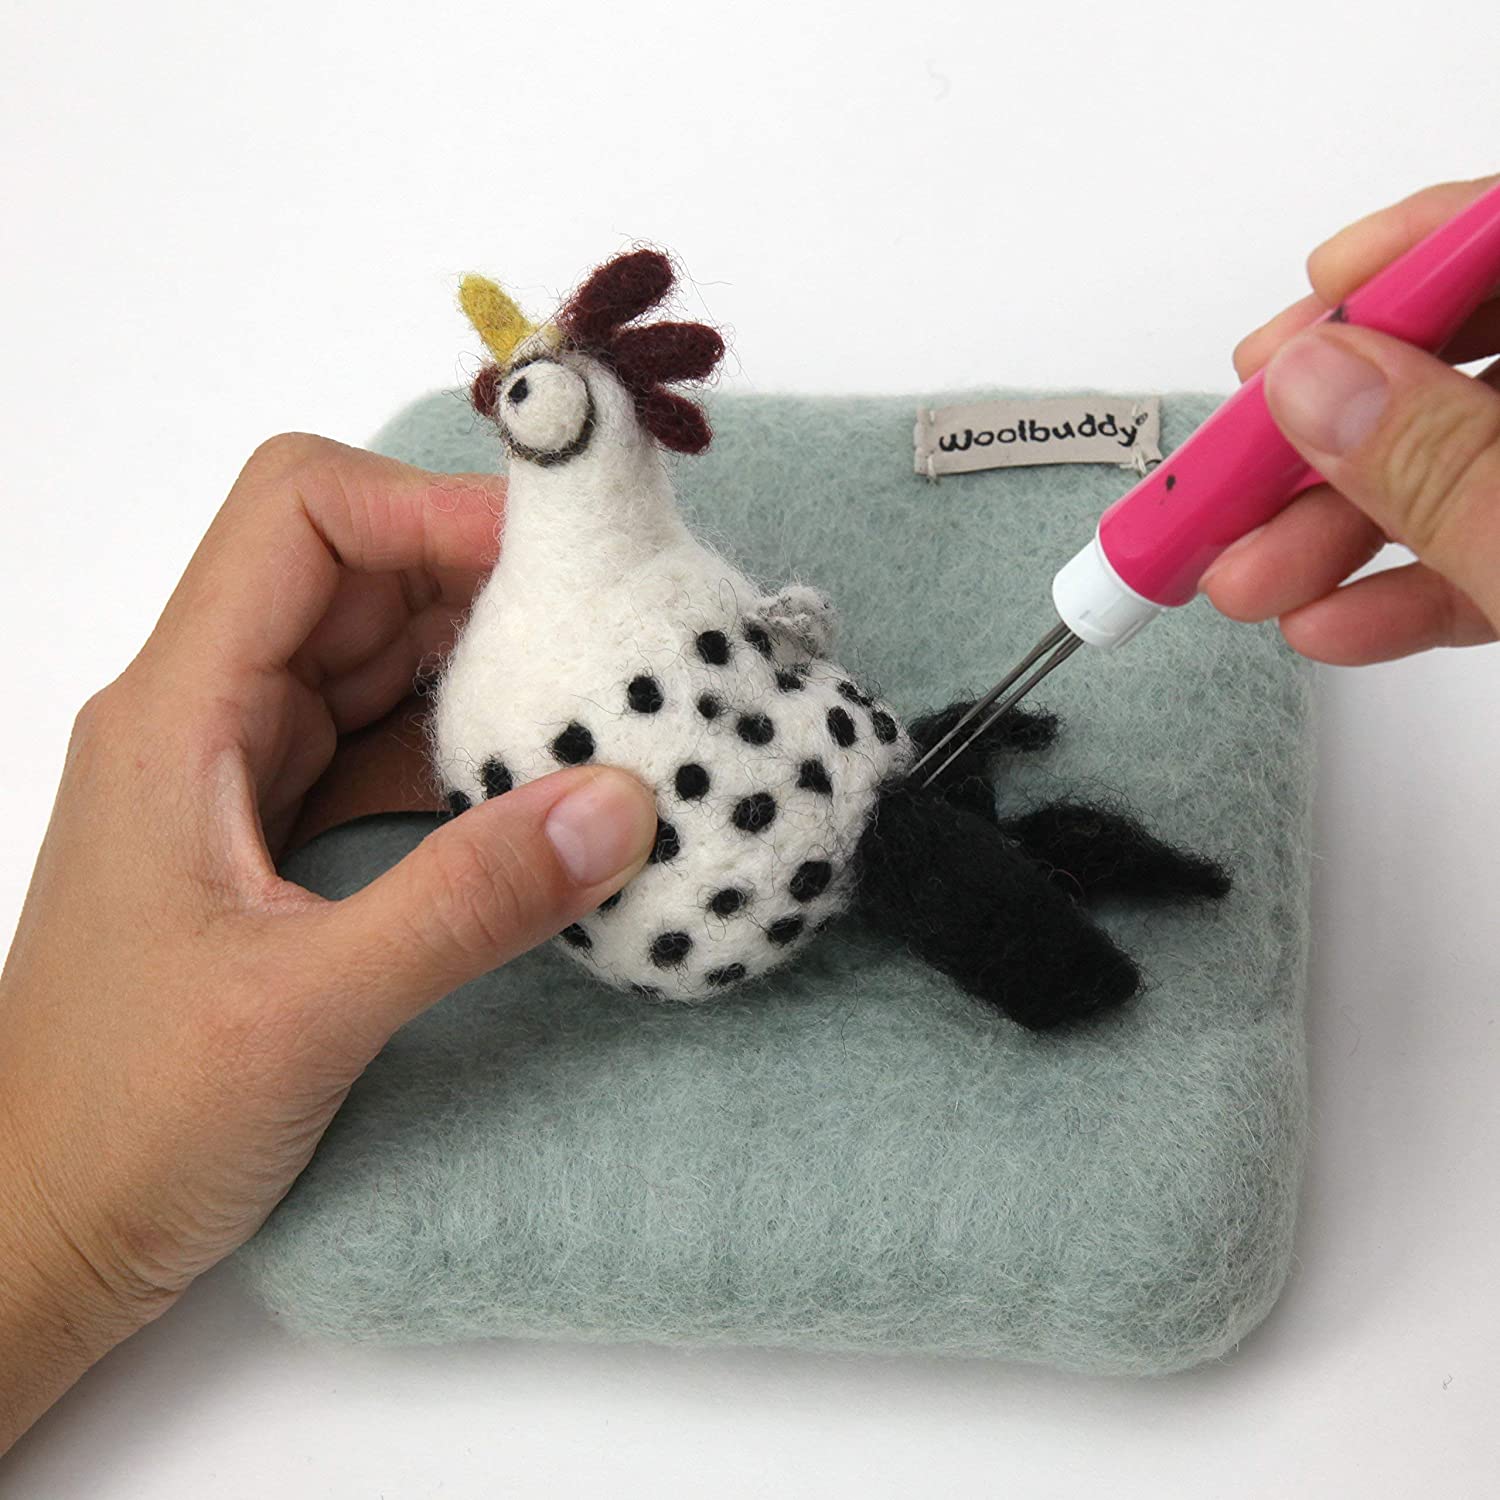
- Lay the wool down on the foam. Old pillows also work as a great alternative to foam cushions. The foam or pillow below the wool makes sure you don’t get holes on any hard surface or worse, break your needle. Don’t needle with the wool in your palm!
- Set the wool on the foam. This is done by poking the wool randomly on the foam. This “sets” the wool on the platform, making it easier for you to work on it. This will firmly position the wool into the foam.
- Outline the shape. Use pins to outline the shape that you want to make. Keep ample space around the outline. Compress the fibers using the needle with an up-and-down motion.
- Work on the core of the shape. This is done by compressing the fibers on the inside of the outline. The point of this step is to flatten the shape’s center. Keep repeating until the shape starts forming in front of your eyes.
- Fold any excess wool. Excess wool will remain even after effective compressing. At this point, you should simply fold all the excess wool on all the sides. Aim for a rounded edge. This step will make your shape soft and clean looking.
- Flip it over. Now that one side has been done, it’s time to smoothen the other. Flip the wool and repeat the compressing step on the other side.
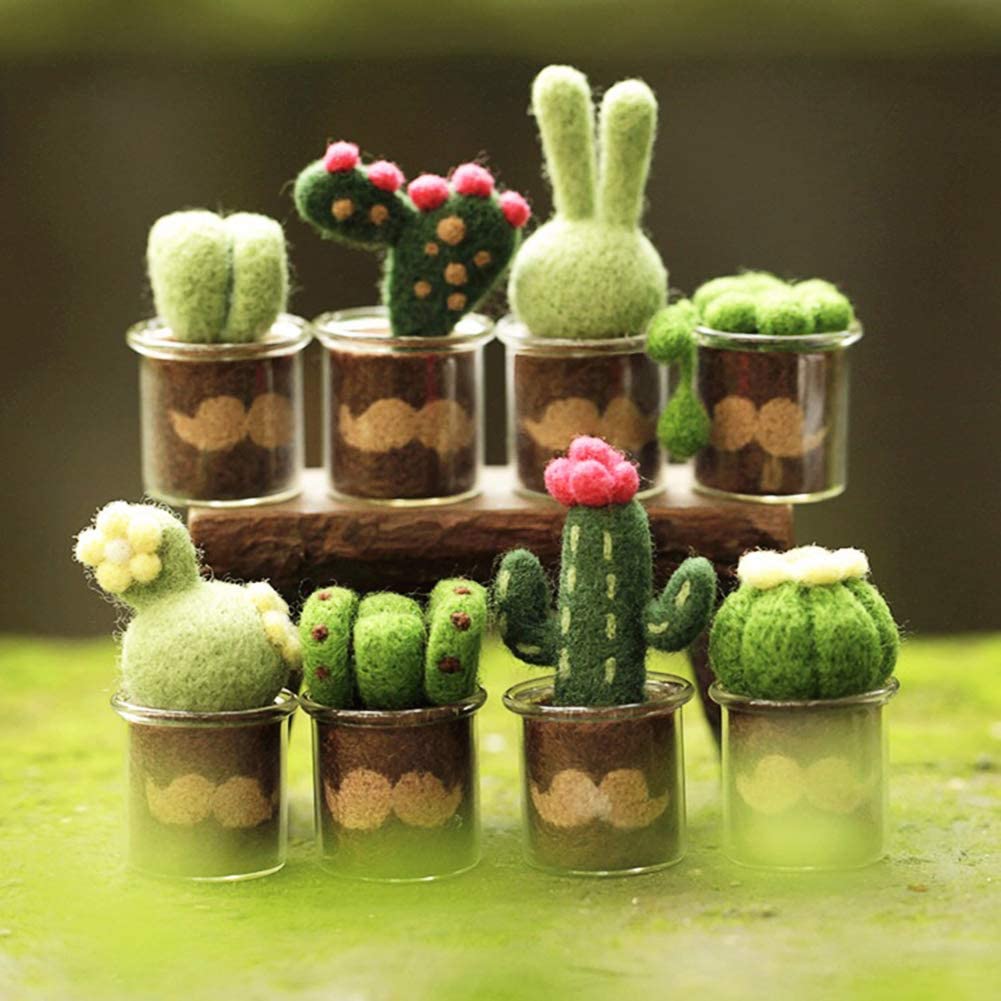
Start with simpler shapes
The ideal starting place is making simpler and smaller objects with the felt. This includes making balls, simple body parts, triangles, hearts, or even rectangles.
Starting with simpler shapes makes it easy for you to graduate to more complex objects. Don’t punch above your weight. You’re unlikely to create a masterpiece early on in your needle felting journey.

Avoid dimples
Needle felting is essentially all about stabbing your needle into a chunk of wool. As such, you should always stab hard but not too hard. And always remember to rotate and turn your wool while felting. This makes sure your wool doesn’t get dimples and is uniform all around.
Be firm, not hard
There’s a clear distinction between firmness and hardness. The best of us have yet to learn it. Felting firmly is critical to designing great figures but go too hard and you risk ruining everything.
It will take some time and practice before you can understand the right amount of pressure and firmness you need to apply.
Start with less than you need
Start with less wool than you think you will need. It’s easier to add more wool later on but removing can be a pain.
Unpicking with a pin, reworking the threads, repositioning appendages are all easy processes when you have plenty of headroom for adding more wool.
Note that unpicking the wool with the felting needle itself isn’t recommended. It will most probably break the needle.
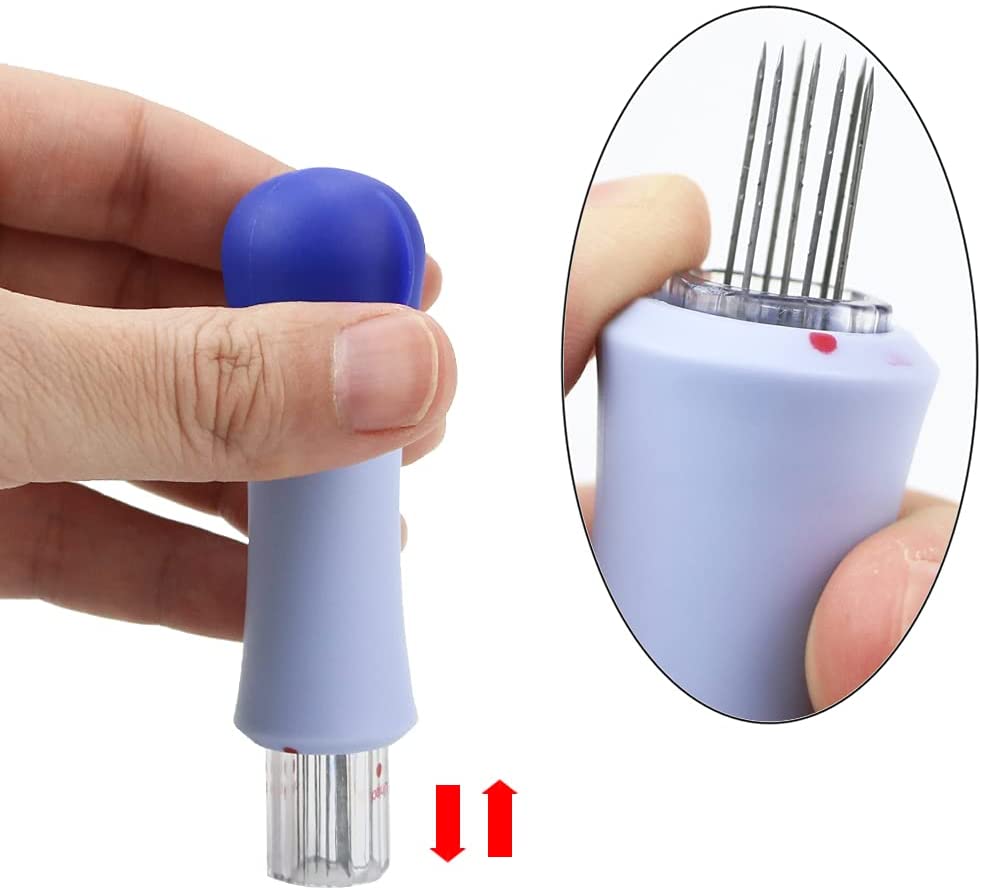
Handling your needle is very important
Good needling handling is at the very core of good needle felting.
Always felt straight up and down. Bending or felting at an angle can cause the tip to break off.
High-quality felting needles aren’t cheap and breaking them is the last thing you want to do.
Needle felting best practices
When you feel ready with the basics, it’s time to take it up a notch.
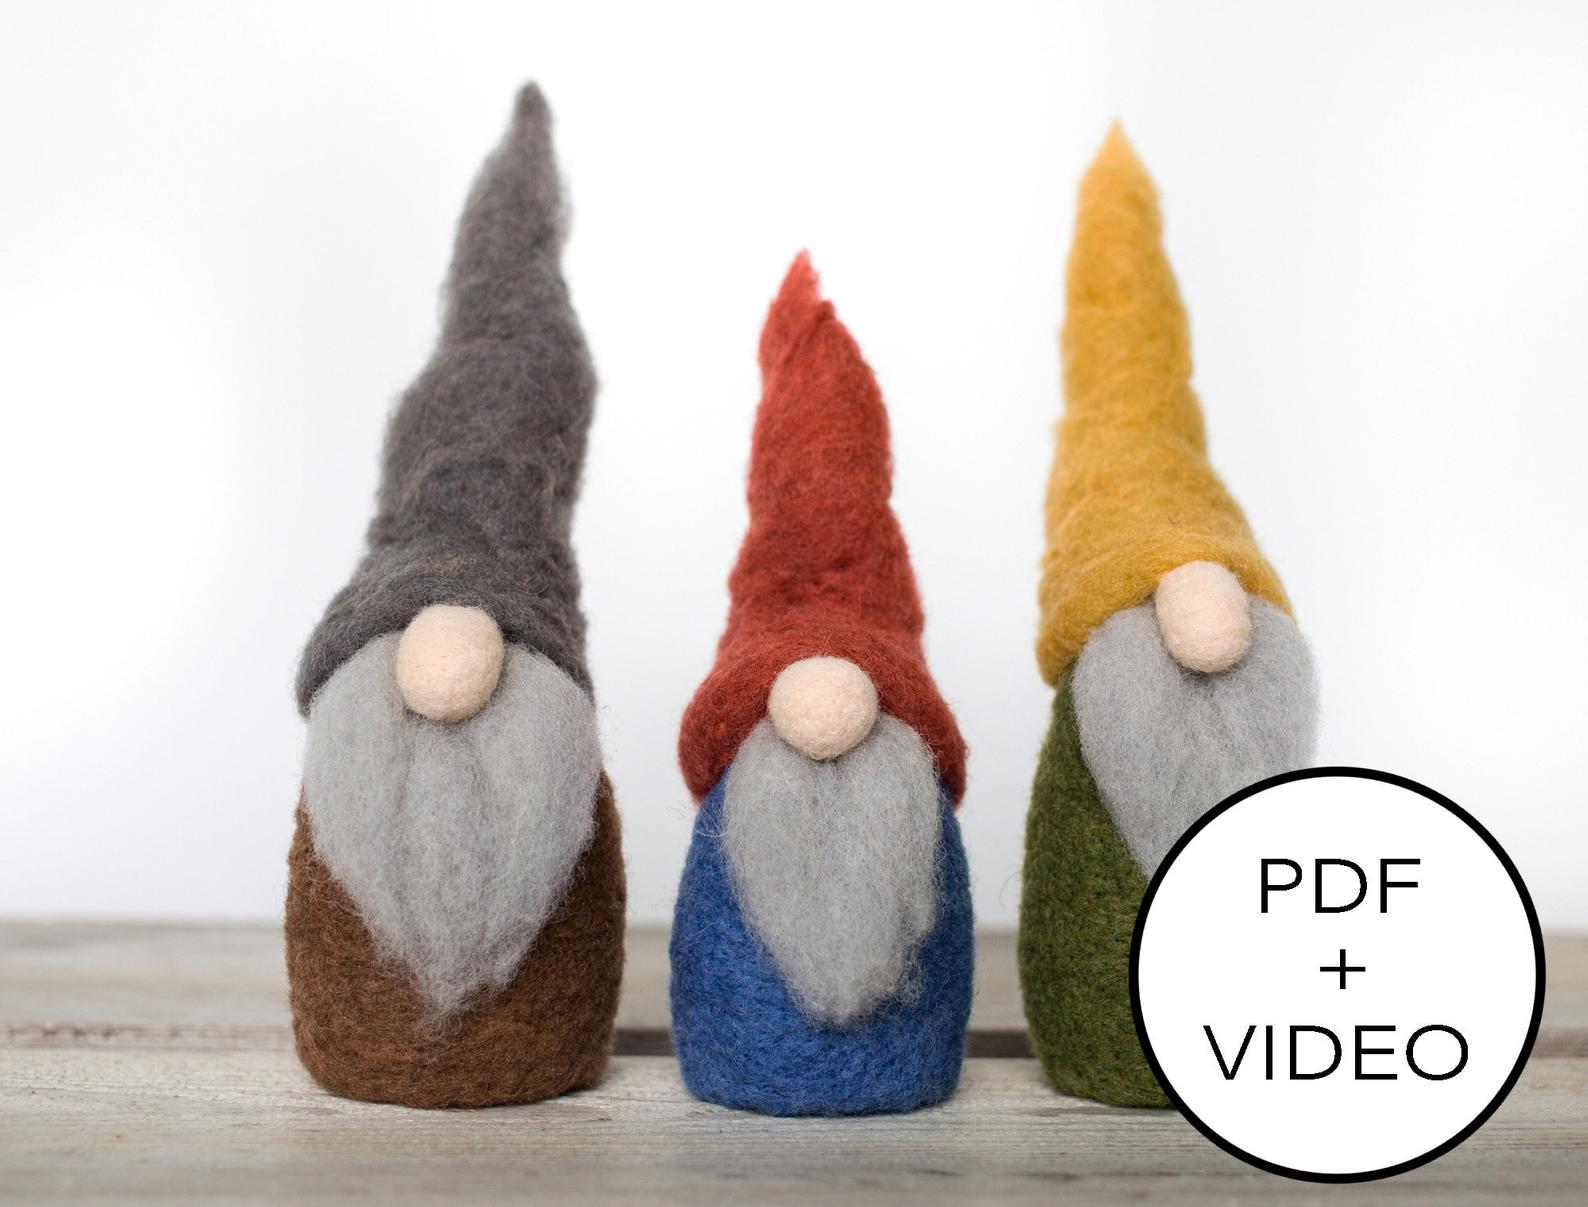
- Use multiple contrasting colors of wool for different body parts. This makes your creation more stunning and visually appealing.
- Use a multi-tier approach for felting. Start with a piece of wool and form a ball using your fingers. Then compress it and add more fiber. Continue until you have the desired size.
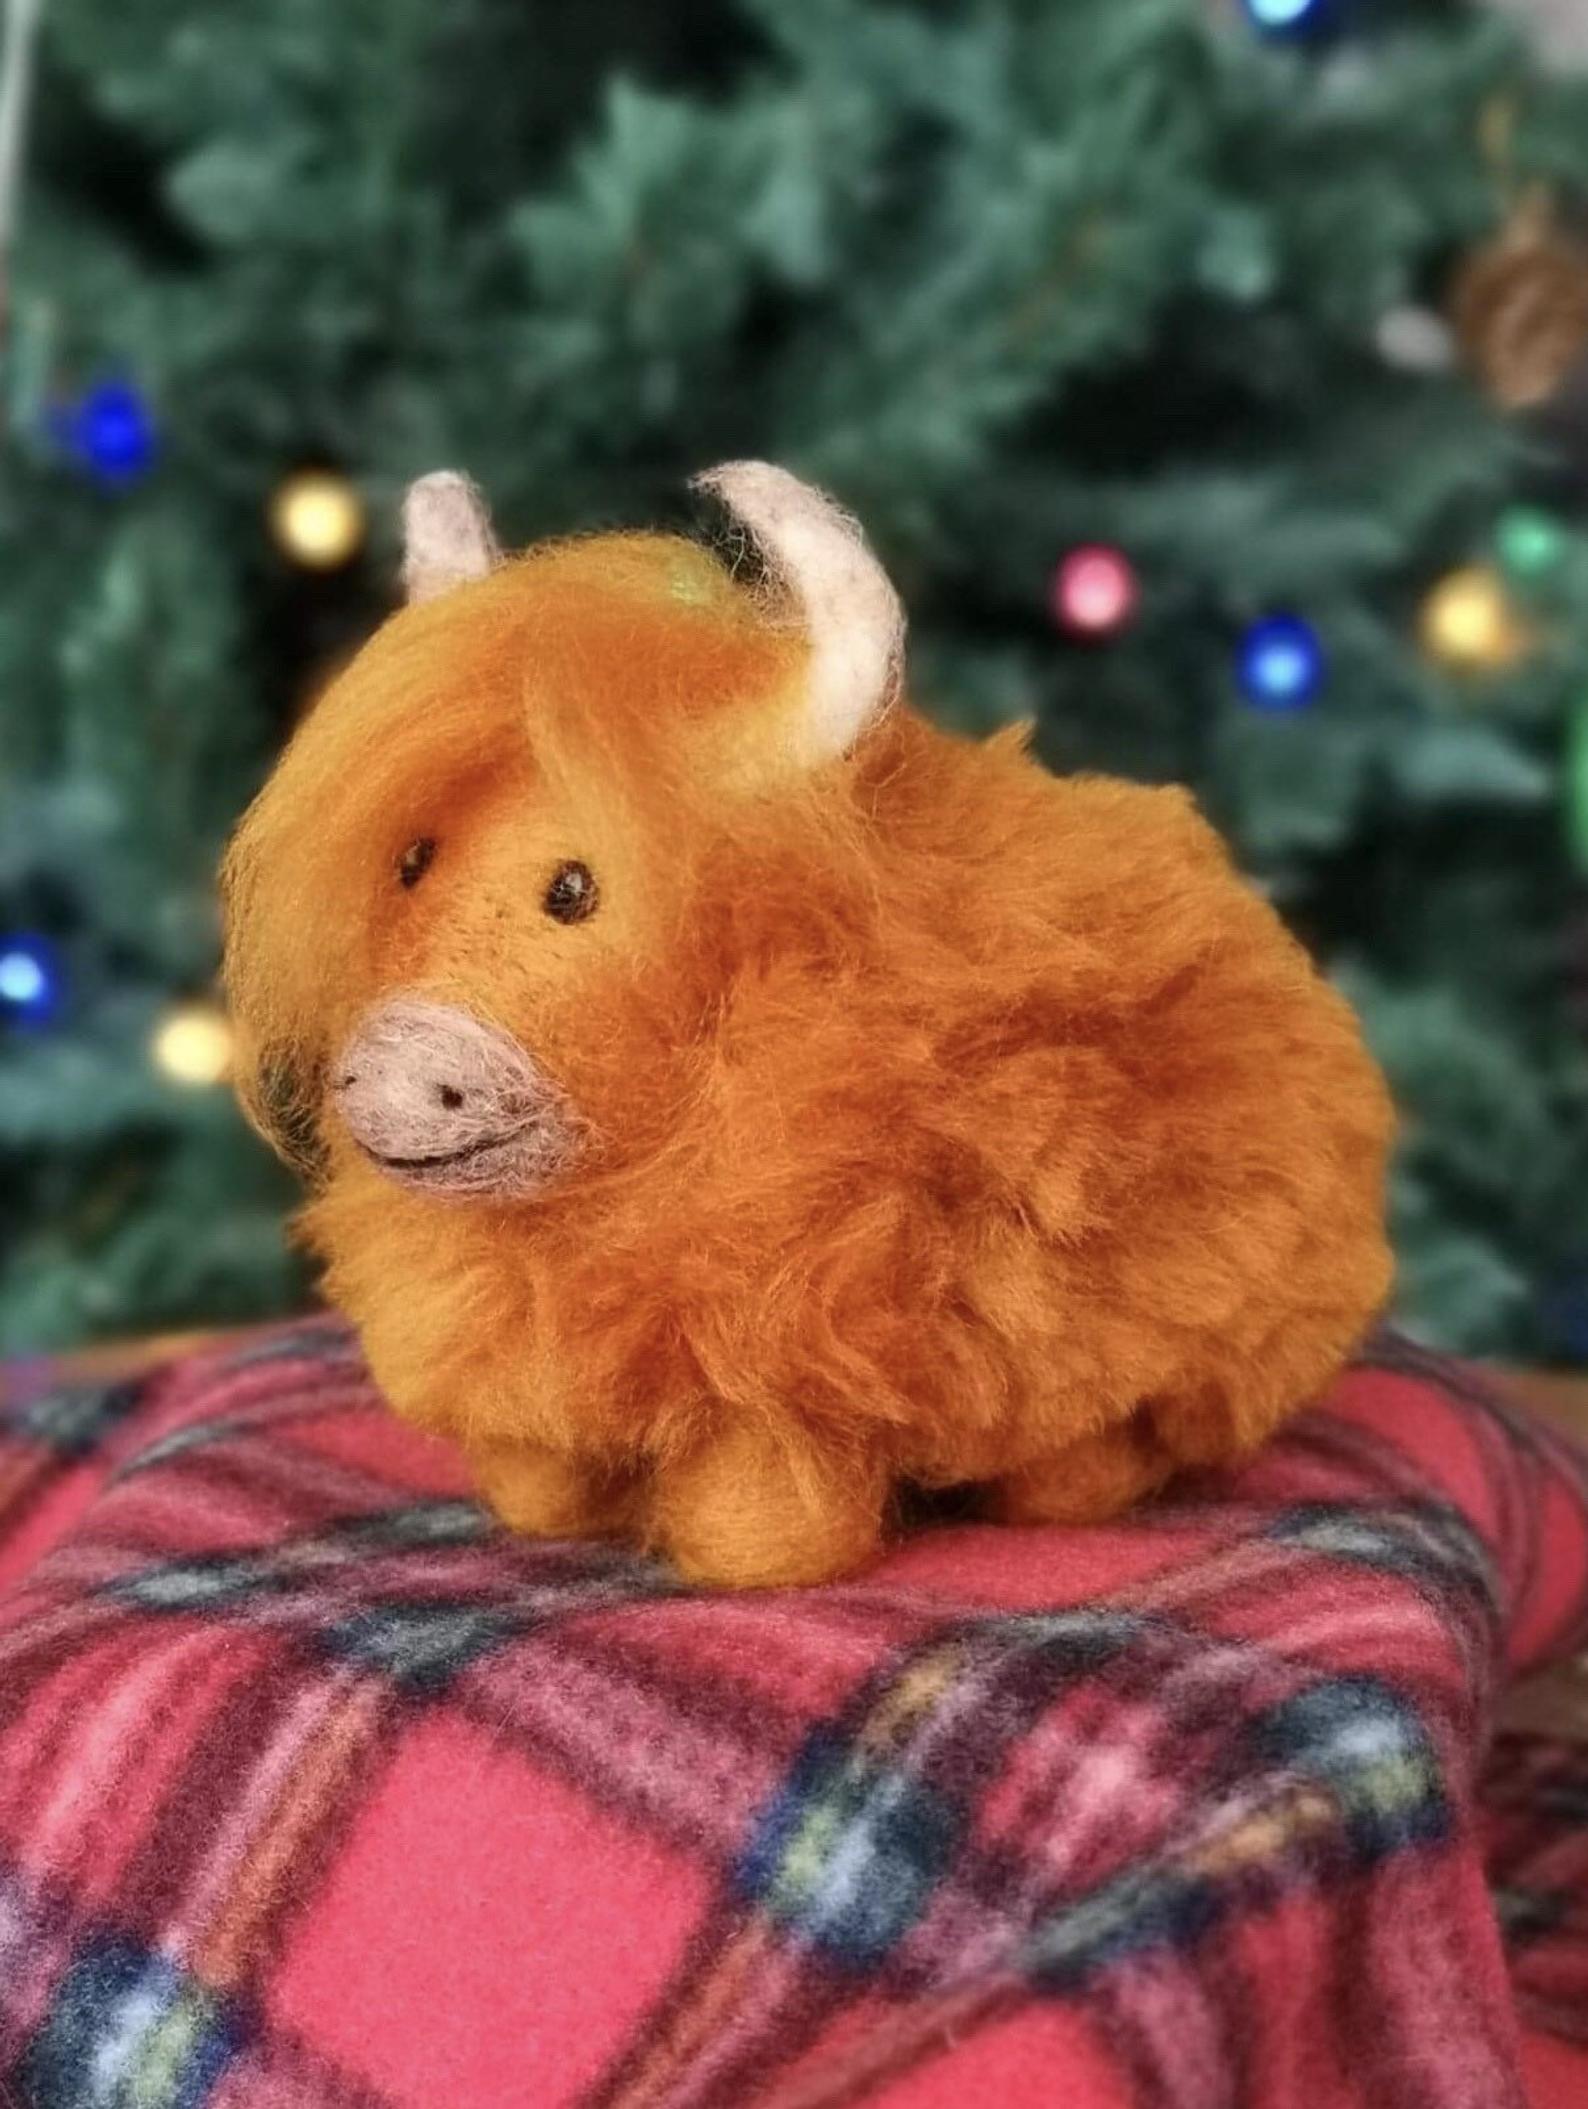
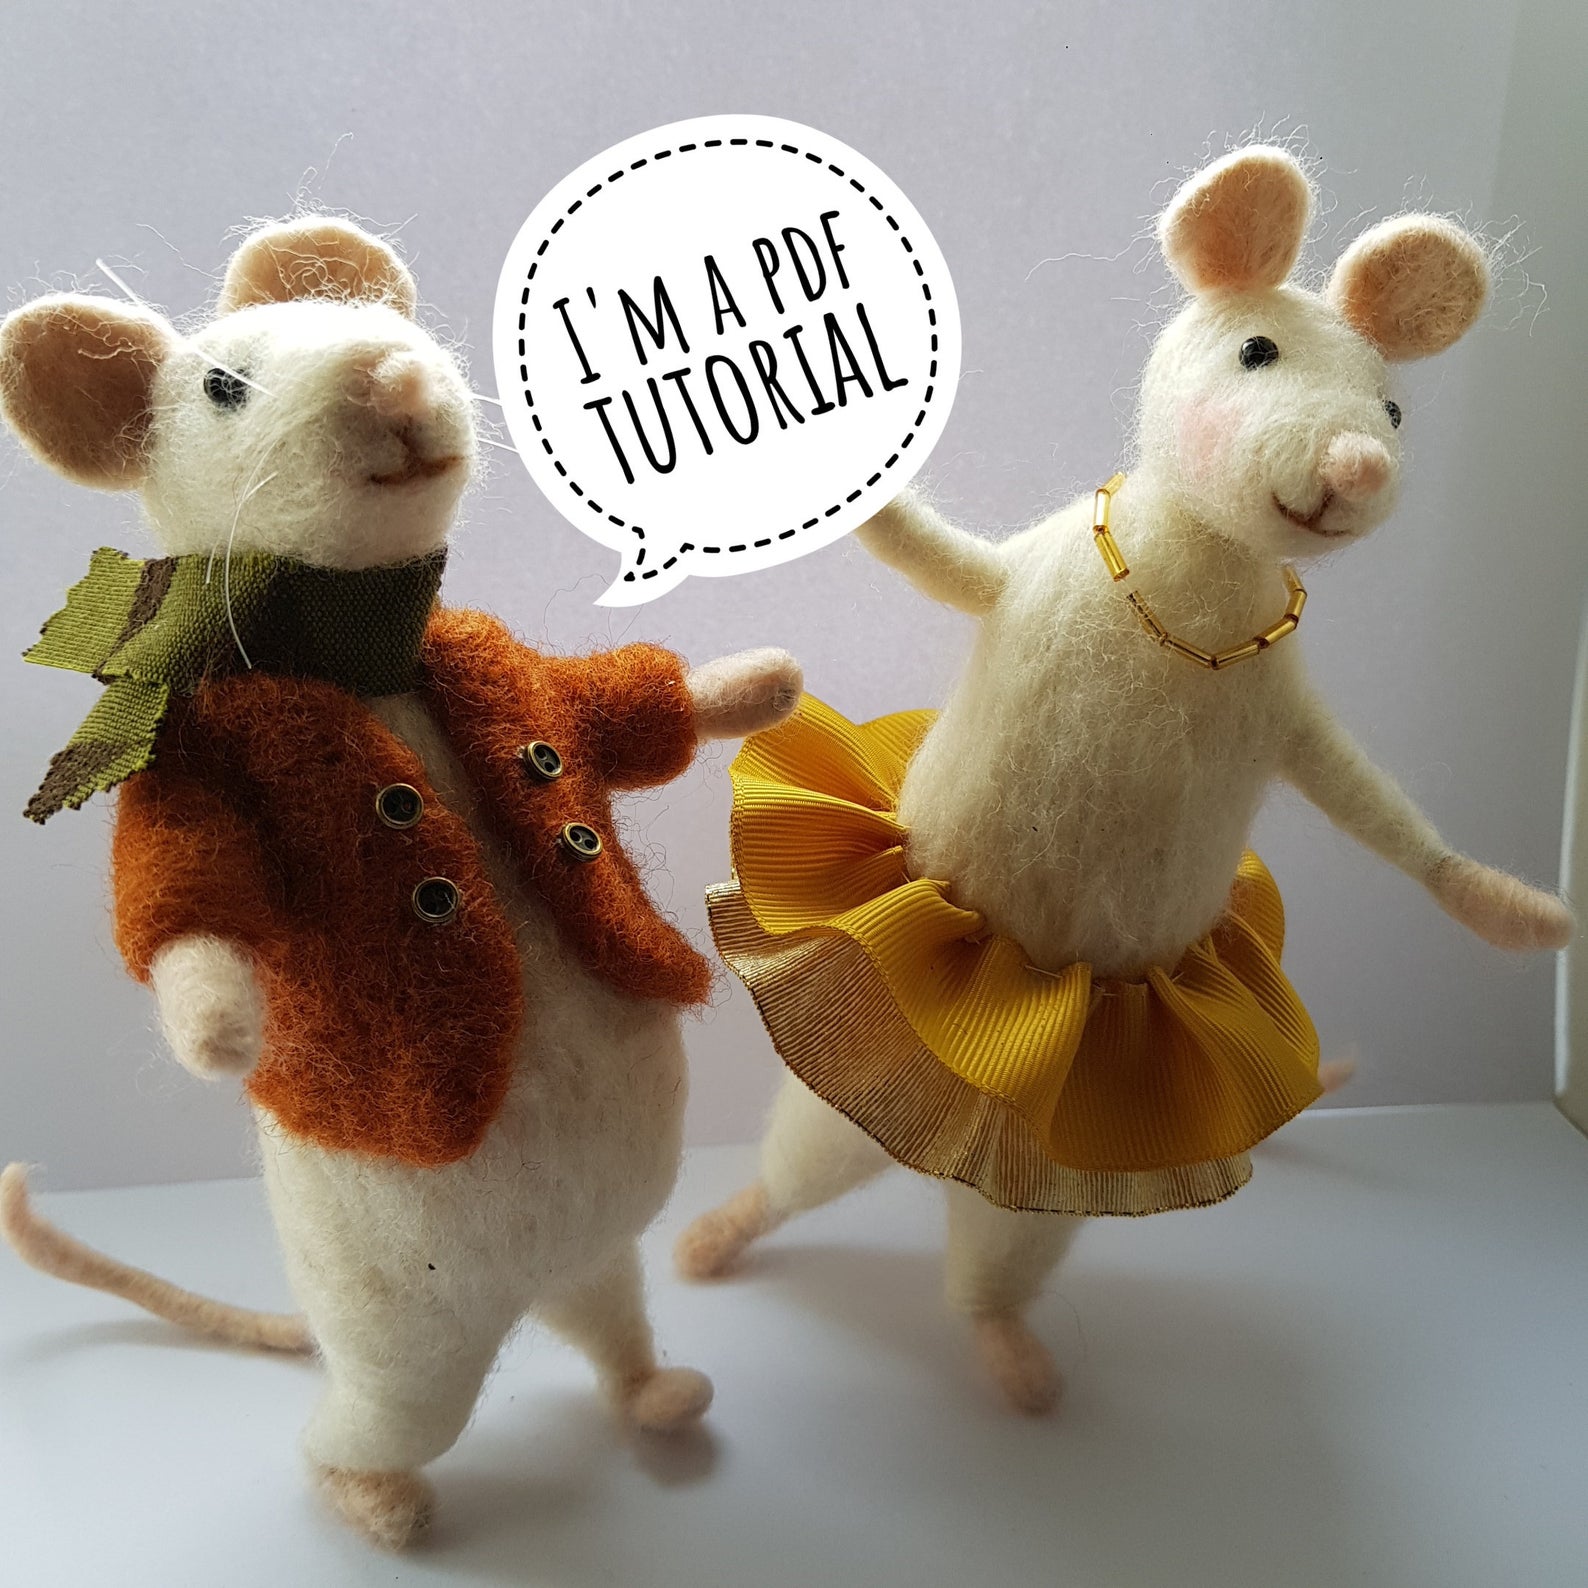
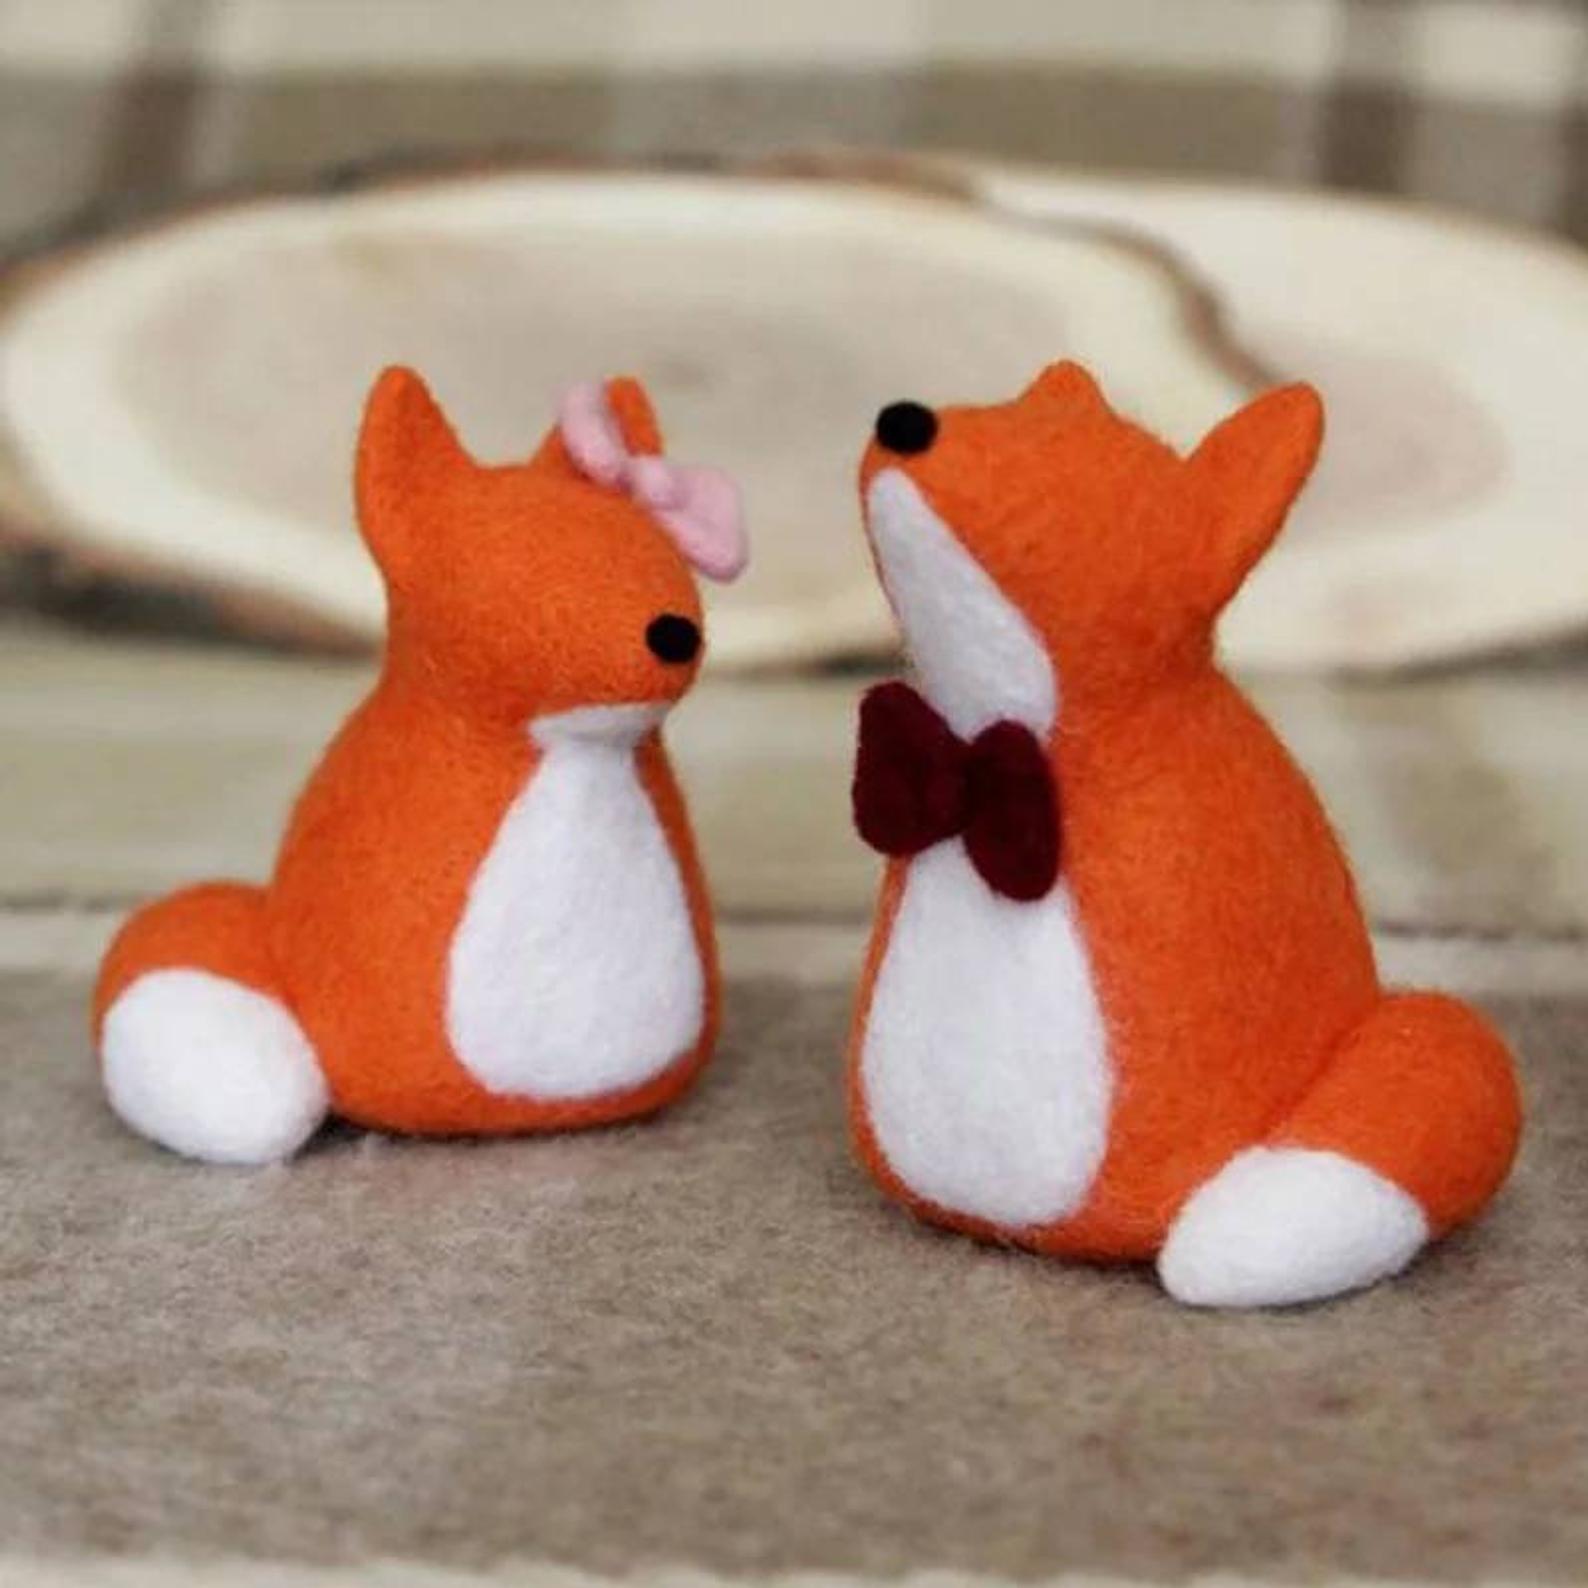
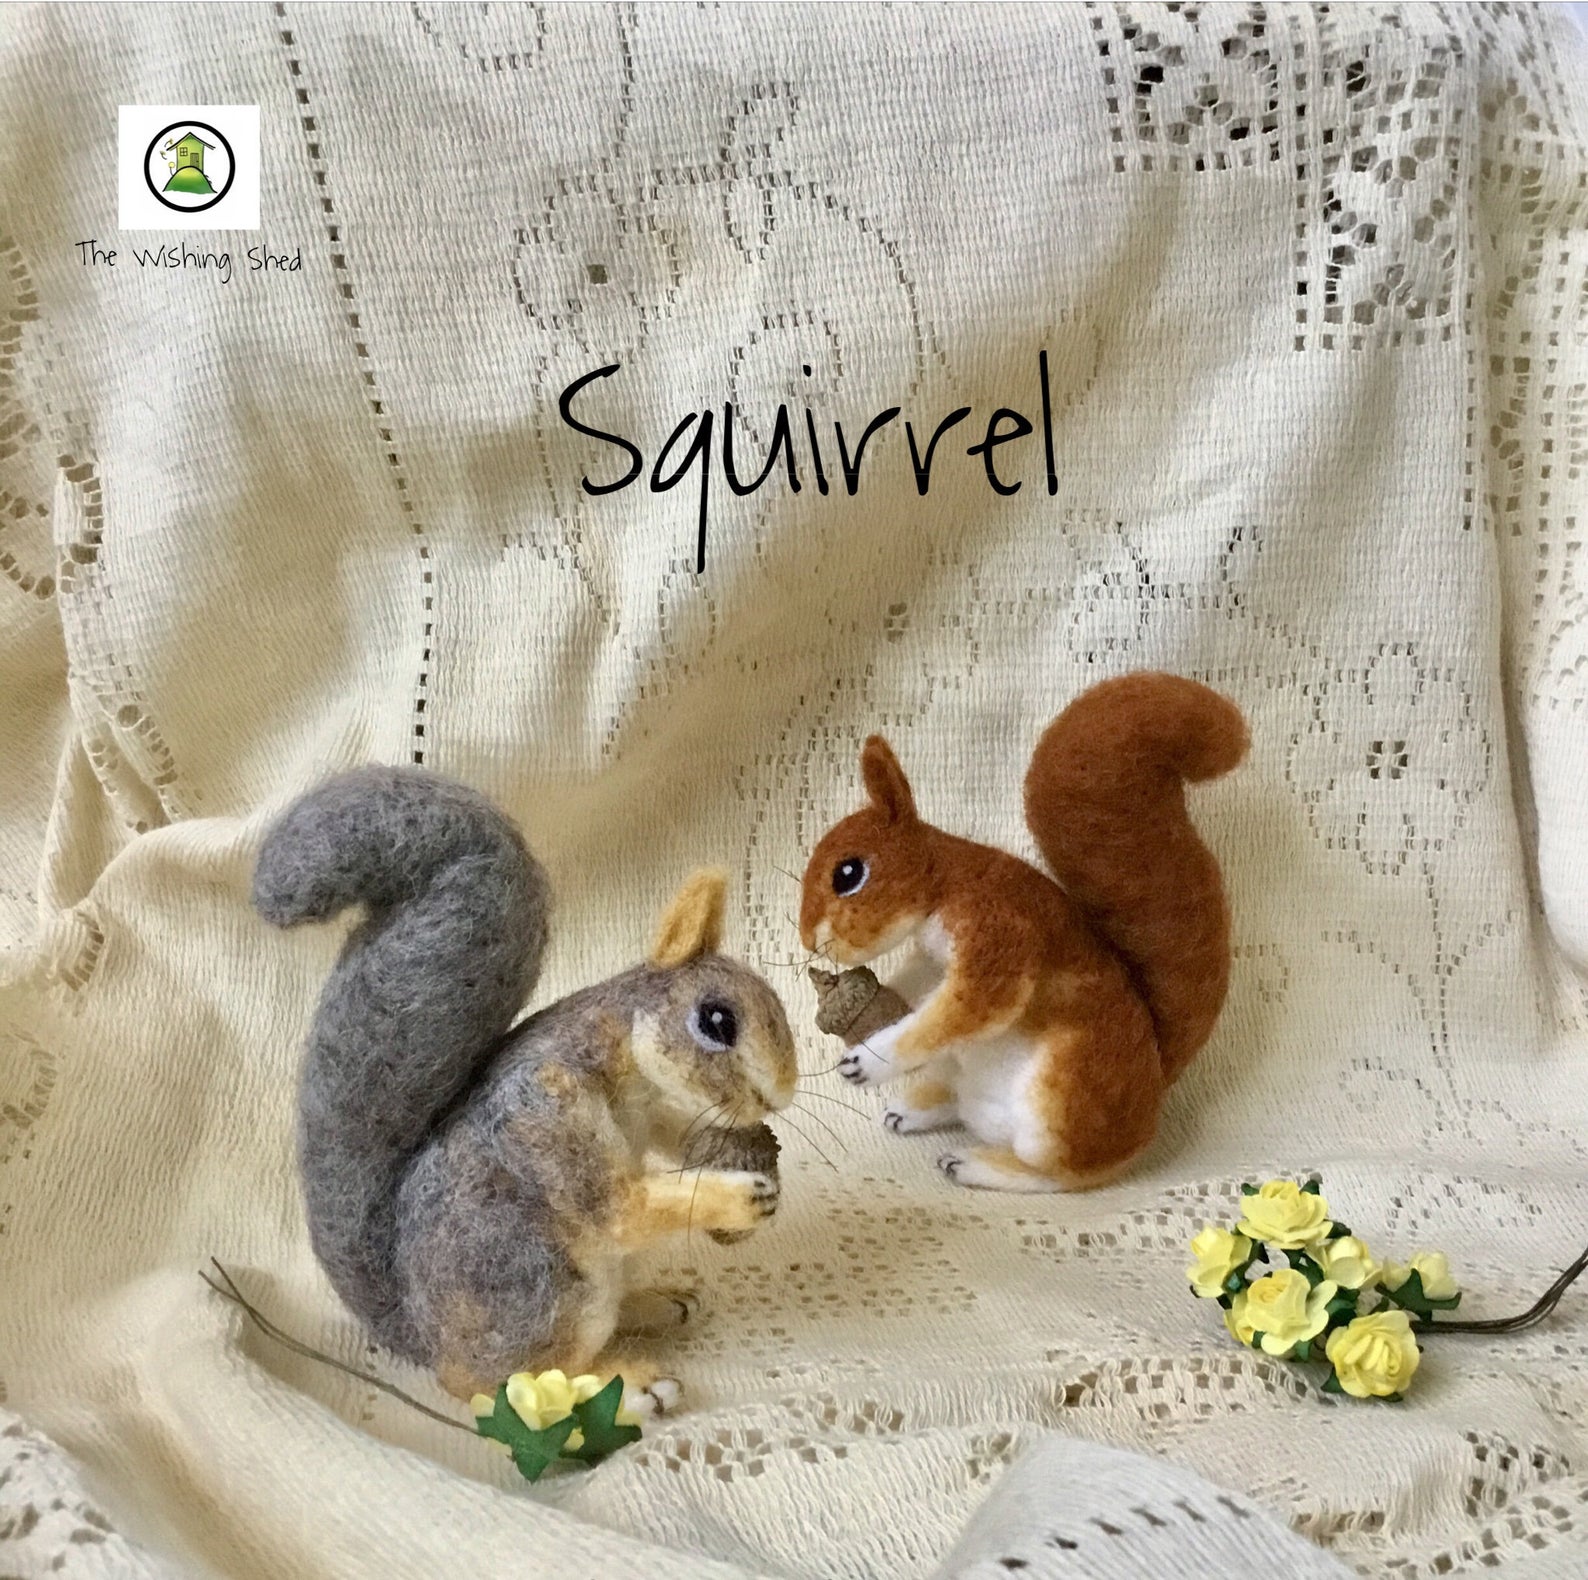
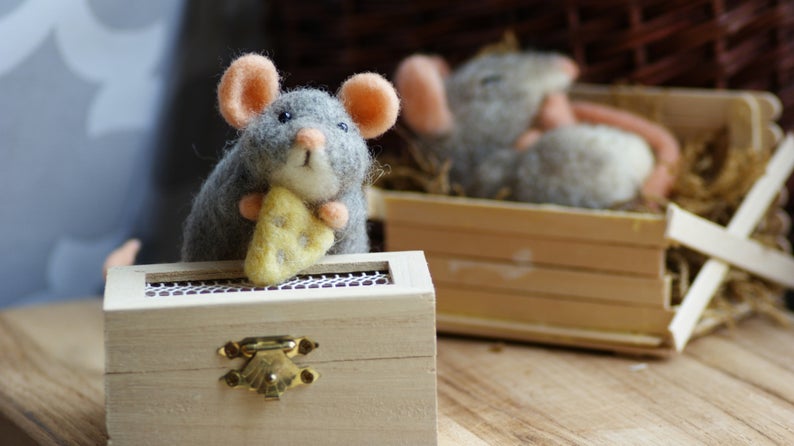
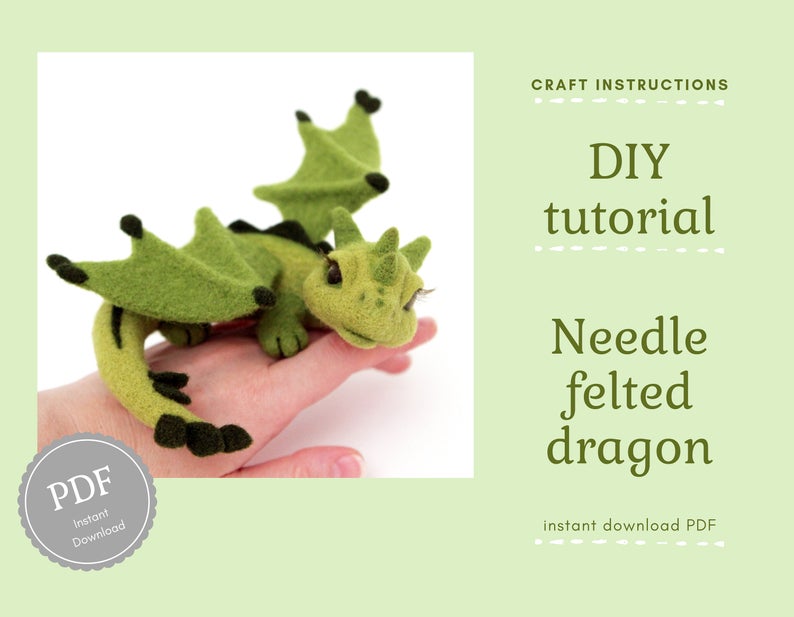
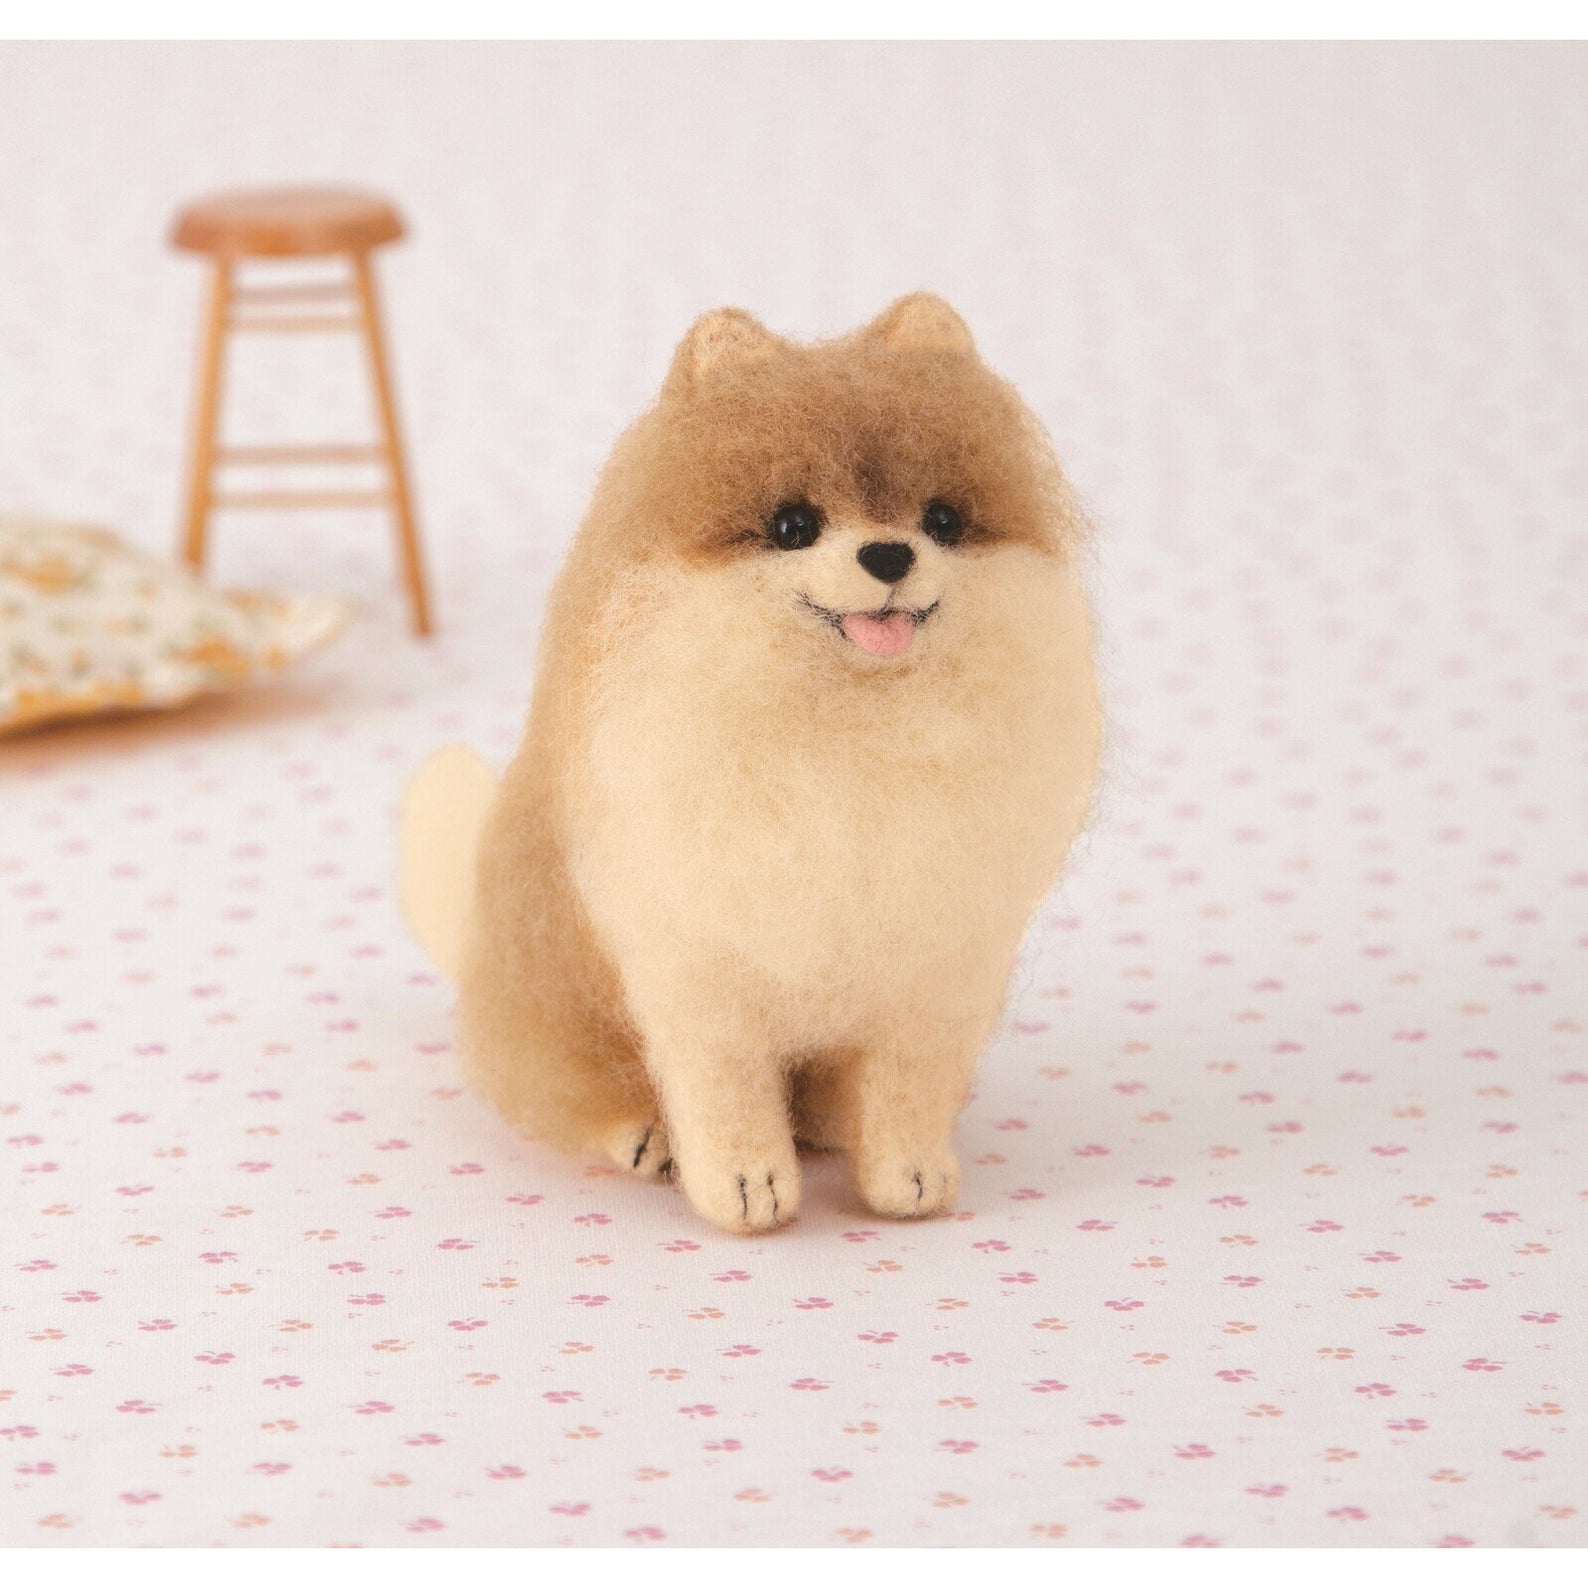
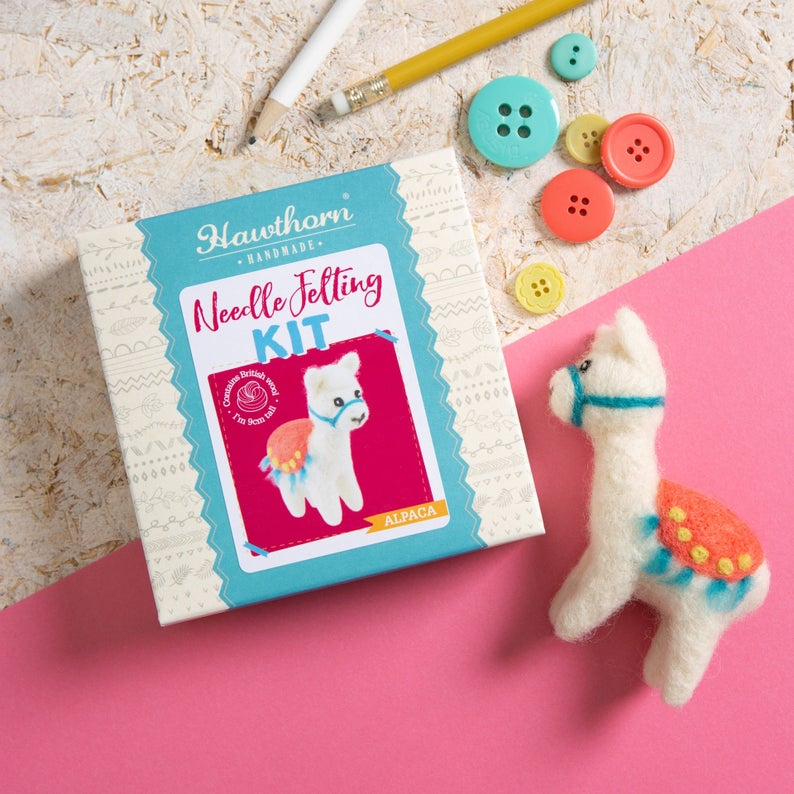
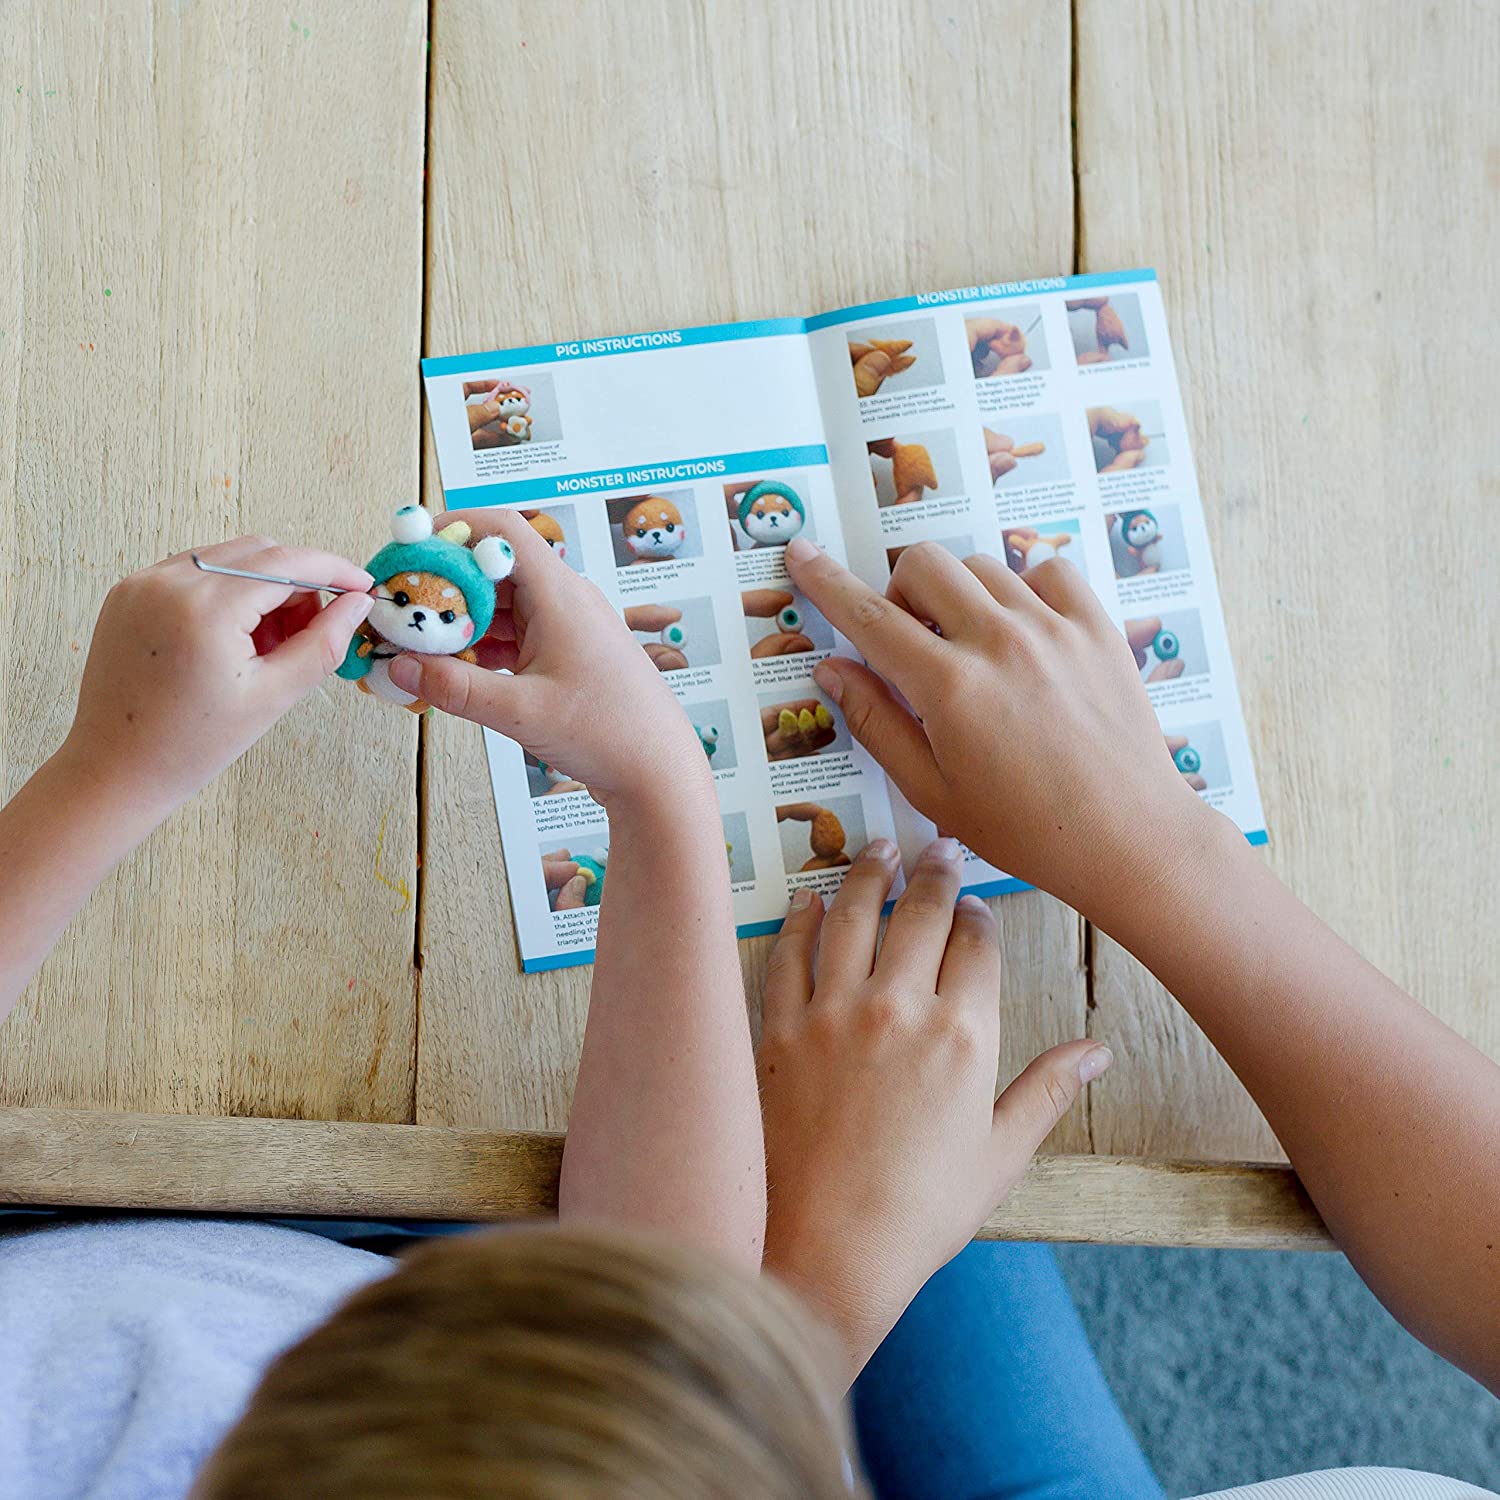
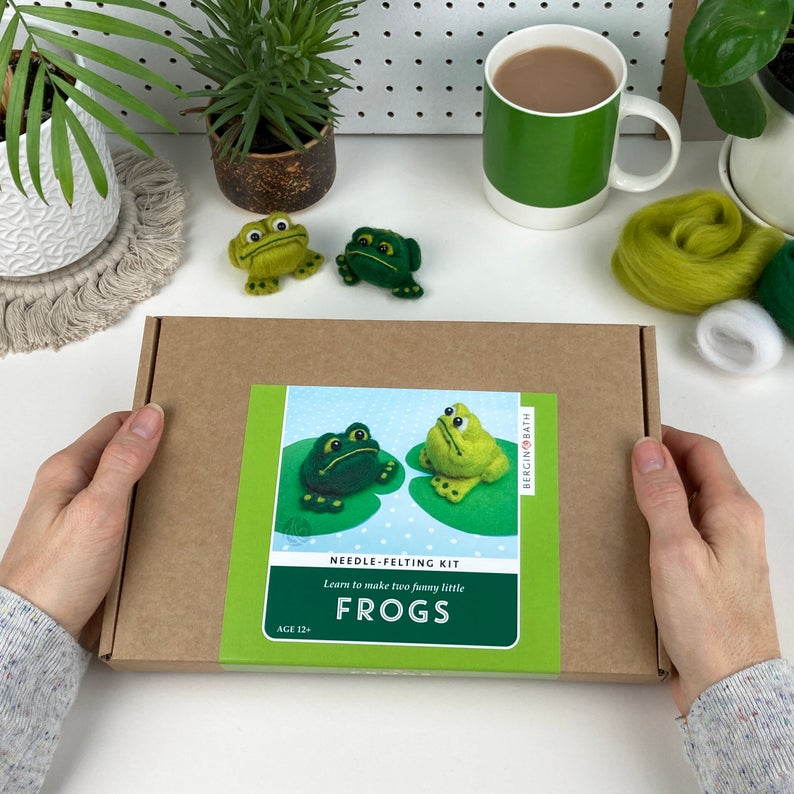
- Creating animals is the easiest way to practice. You get to make different body parts such as ears, arms, legs, heads, eyes, noses, etc. with ample scope of creativity and experimentation.
- There are many types of wool fibers and needles to choose from. Experiment and find the best fit.
- Incorporate stitching, wires, and other art supplies to enhance the work or cut the time. You can also use cookie cutters to give a sharp feel to your creations.
In conclusion
Needle felting is as addictive as it’s frustrating in the beginning. Both have their downsides. Addiction to needle felting will make everything else seem boring or unimportant. Many have permanently ditched housework or feeding their pets for felting full time. On the other hand, the initial frustration when you don’t get it right can be the final straw and break your attachment to the wool, quite literally.
Remember to have patience. If your wool doesn’t look like what it’s supposed to look like or the final result you have imagined in your head, it’s nothing to fret about. Usually, wool starts to resemble what you’re trying to make 75-80% on the way to completion.
Don’t be afraid of disfigured limbs or wobbly body parts. If you end up with a random wobbly monstrosity, you can always name it Frankenstein and it will still be your little wonderful creation!

Checkout other articles related to this topic:
Part 1: Bead weaving. Your way to handmade excellence and a world of DIY
Part 2: Knitting. Your way to handmade excellence and a world of DIY
Part 3: Mandala drawing. Your way to handmade excellence and a world of DIY
Part 4: Drawing. Introduction to learning to draw by yourself

Important disclaimer
This compilation is brought to you based on our taste and subjective opinion. We explicitly state which parts are promoted and take no responsibility for the quality of things presented by merchants. If you have an idea about collection or would like to promote your brand please reach out via email: [email protected]